
Farmers Branch · Preston Hollow · Park Cities · North Dallas
Every detail, finished right.
Owner-operated home repair for established North Dallas homes. A written quote before any work begins, a clean home when we leave, and a 12-month workmanship warranty on every job.
Services
The repairs that keep a good home looking its best.
Small and mid-size jobs, done properly. Bundle a few items into one visit for the best value.
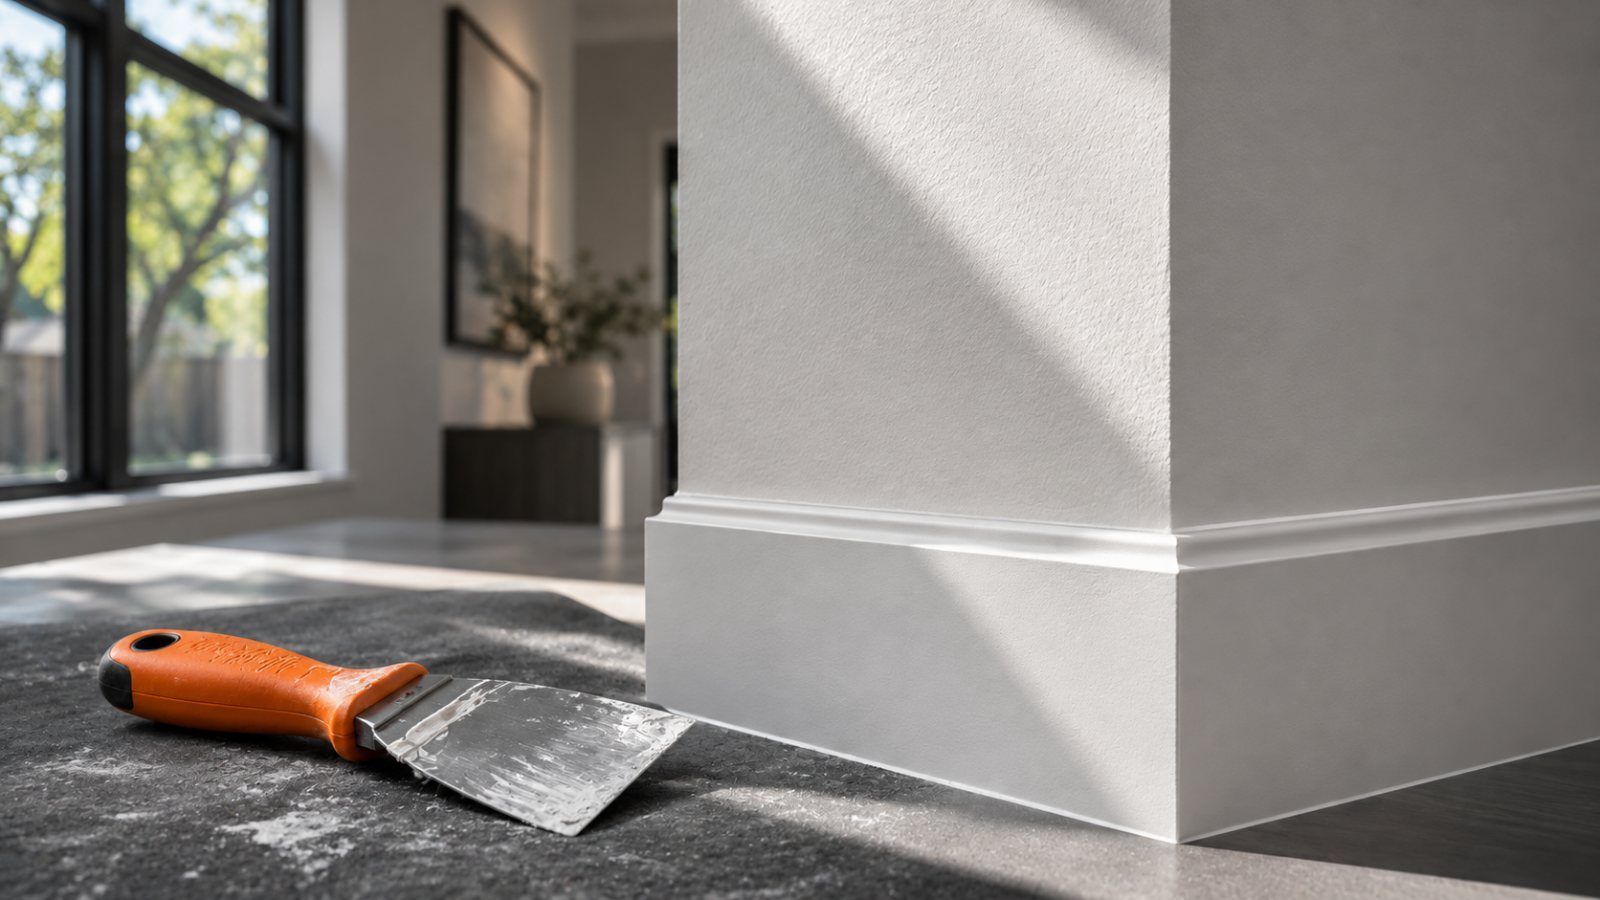
Drywall repair
Cracks, holes and water spots, texture-matched so the patch disappears.
Interior painting
Rooms, ceilings, trim and doors, with floors and furniture protected.
Doors & trim carpentry
Sticking doors, loose casing, baseboard and small trim repairs.
Caulk & grout
Tubs, showers and counters resealed cleanly.
Plumbing
Leaking faucets and toilets, fixtures, supply lines and shutoffs.
Electrical
Light fixtures, ceiling fans, switches and outlets.
Punch lists
Send the whole list. One visit, one written price.
- Plumbing and electrical work is performed by licensed tradesmen.
The Bridgeman standard
How every job works.
Tell us what needs doing
Book online and upload photos, or call. We confirm your appointment the day before.
Approve a written quote
Itemized pricing, in writing. Nothing starts until you approve it.
Work done, warranty in hand
We walk the work with you, clean up, and stand behind it for 12 months.
Case studies
See the work, step by step.
Real jobs from North Dallas homes. Pick the kind of work you need, tap or swipe through each stage, then read how we solved it.
 Before
1 / 7
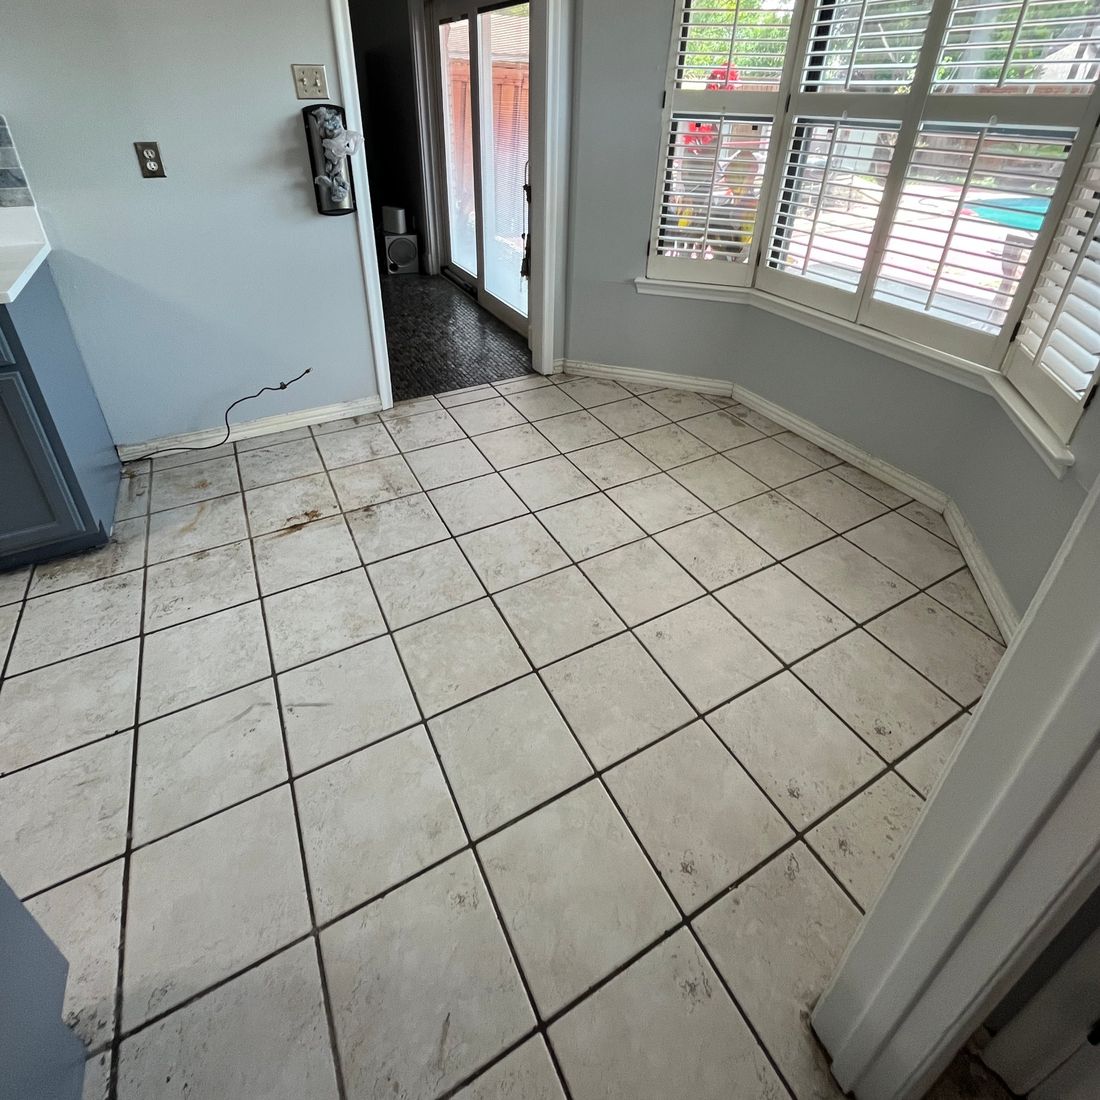
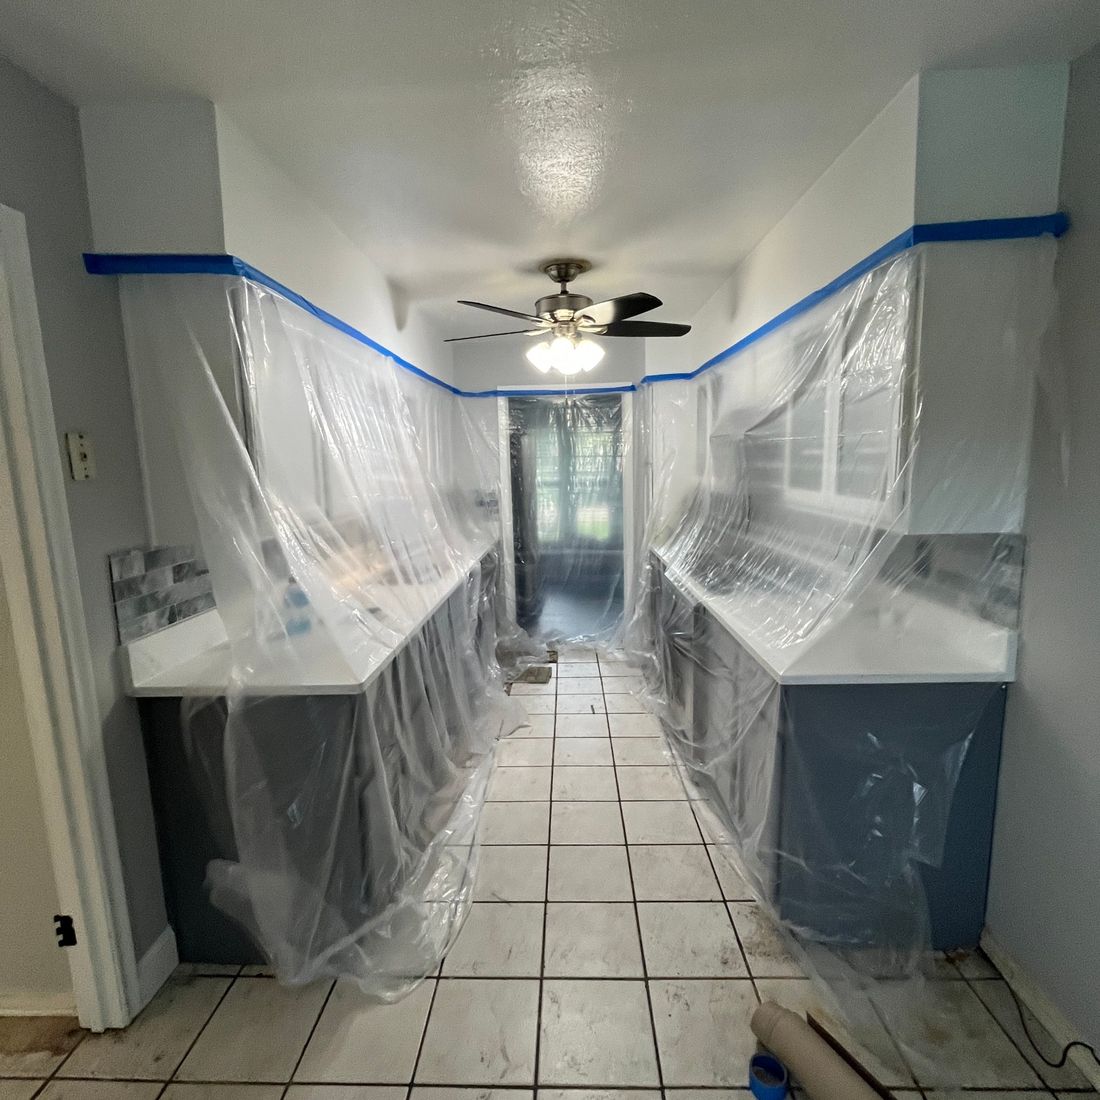
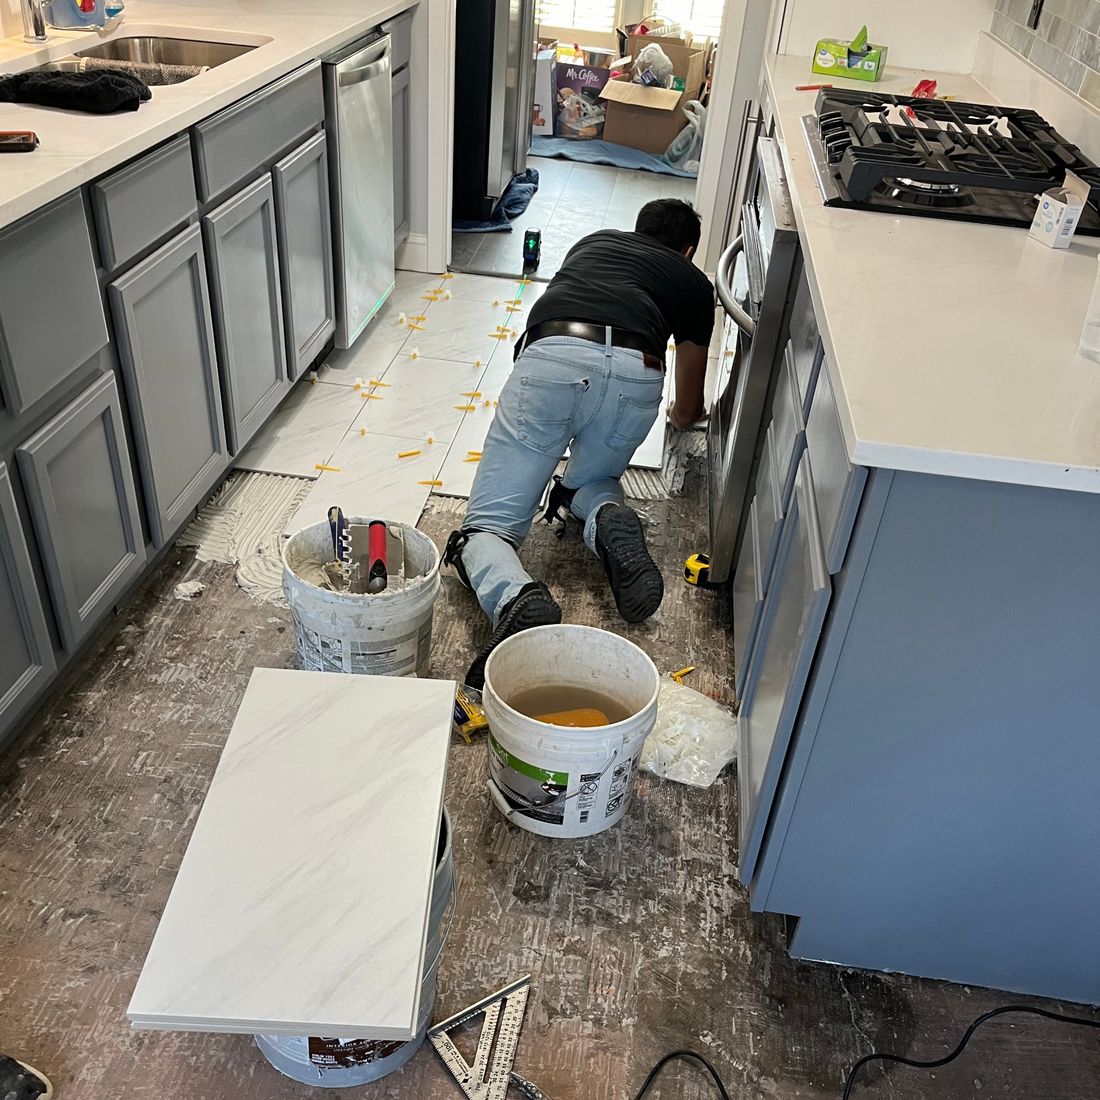
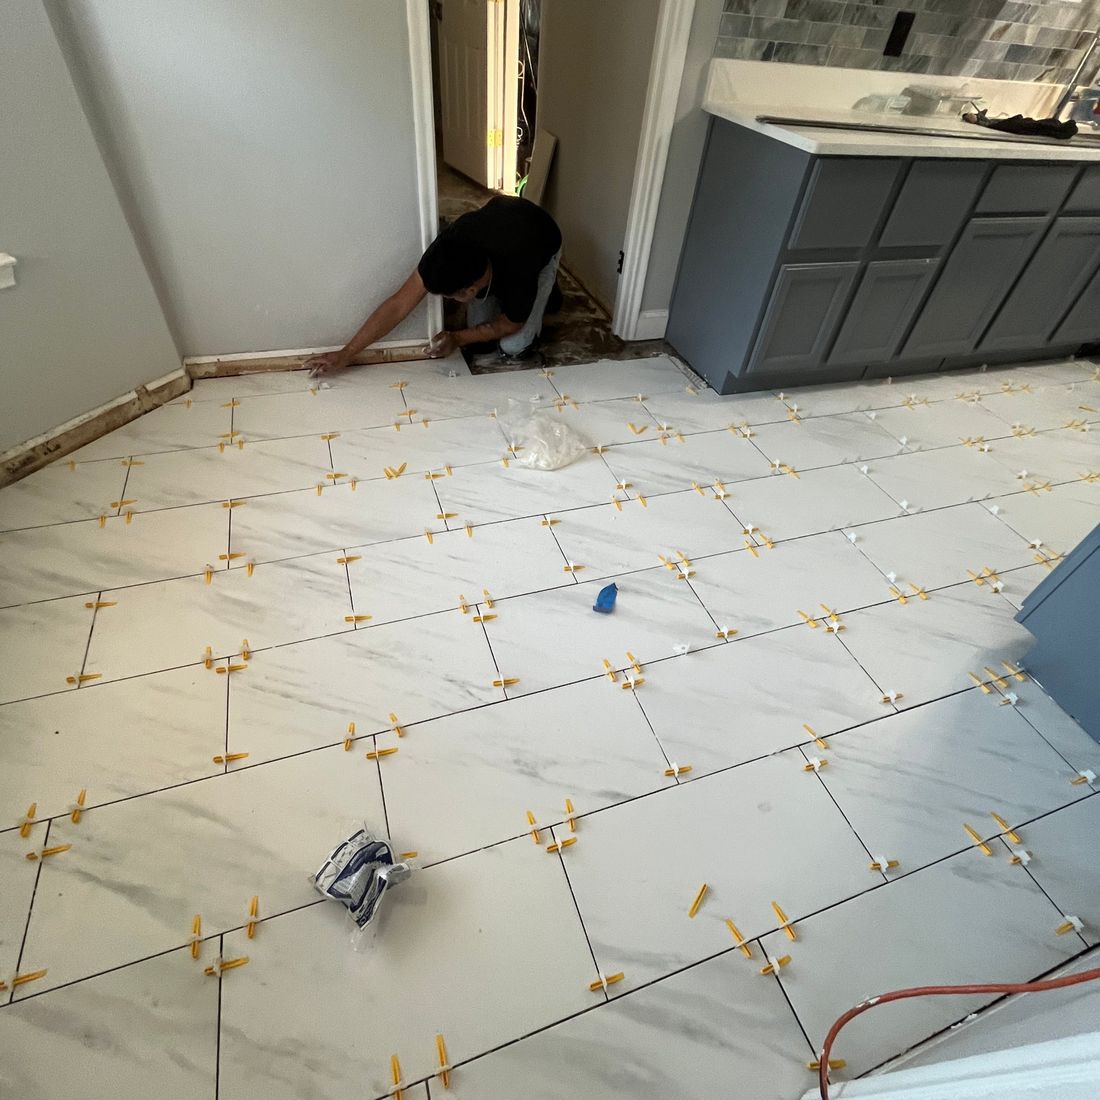
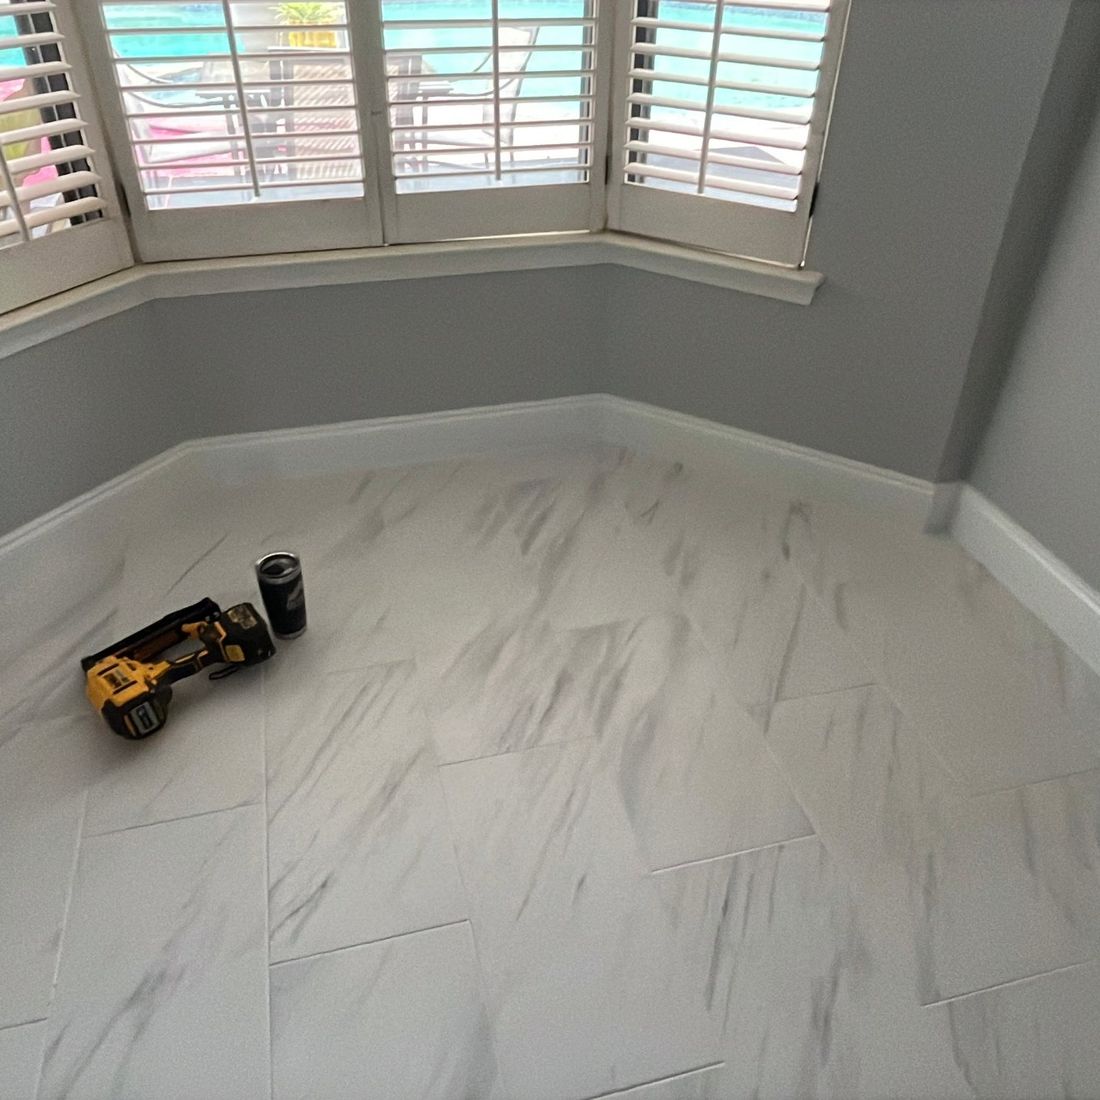
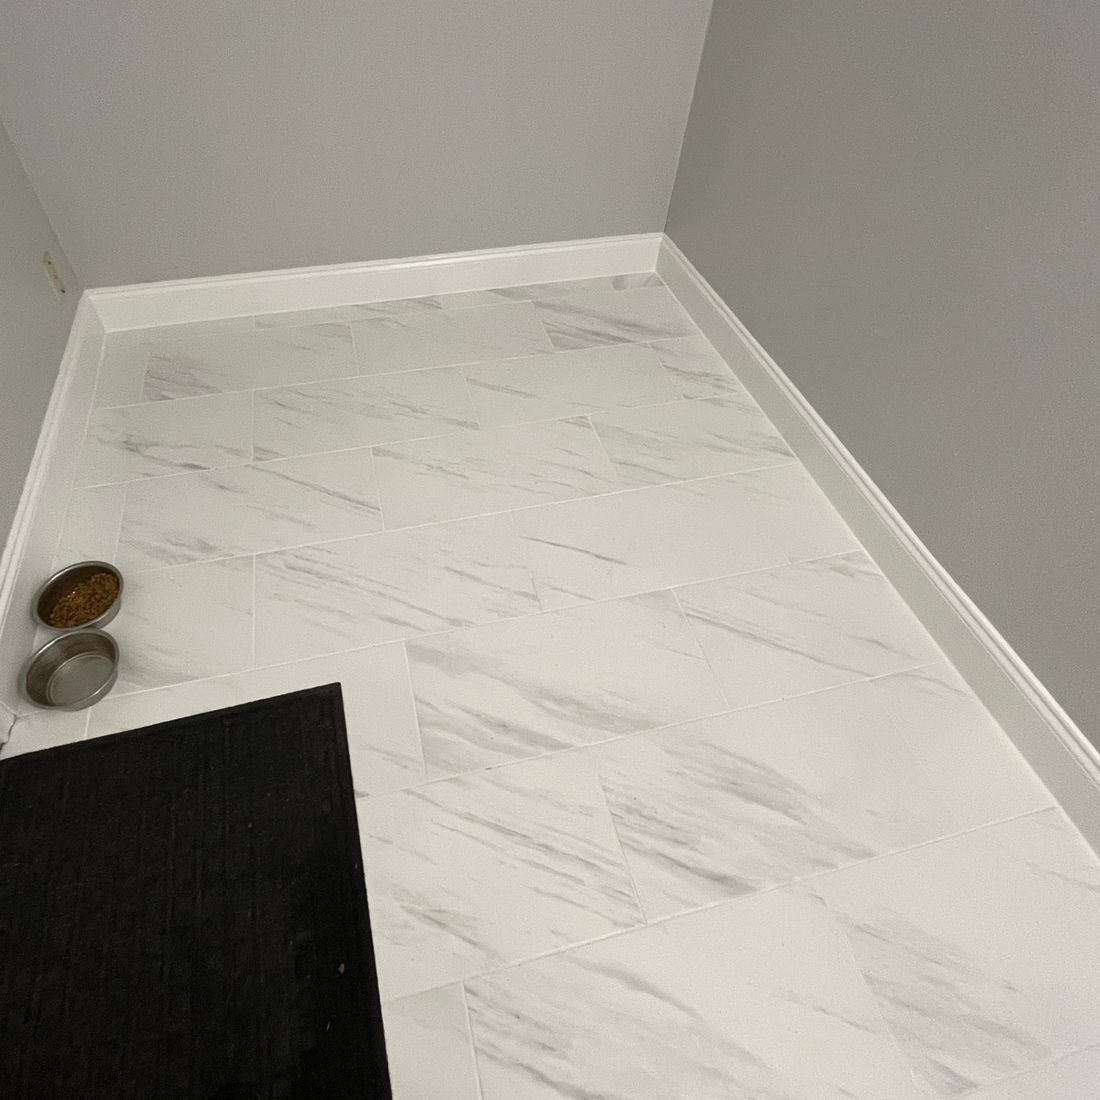
Kitchen and nook tile replacement
The problem. Dated 12-inch ceramic tile with dark, stained grout ran through the kitchen, breakfast nook and laundry hall.
How we fixed it. We sealed off the cabinets and counters, removed the old tile, and set large-format marble-look porcelain to a laser line with a leveling system, then finished with new white baseboard.
Read the full case study
Leveling clips keep every large tile flat and lippage-free, so the floor reads as one clean, bright surface from room to room.
 Before
1 / 6
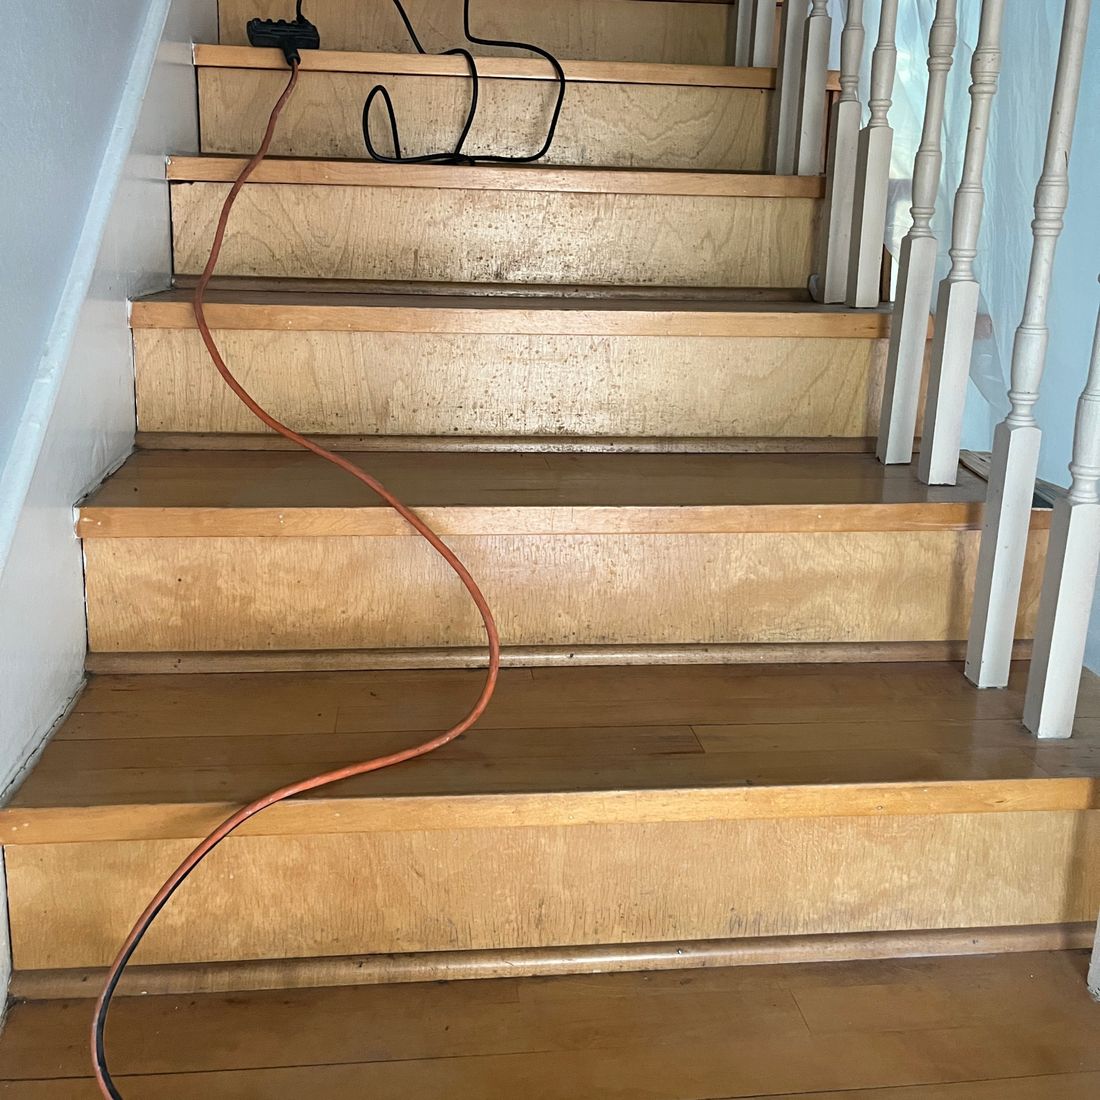
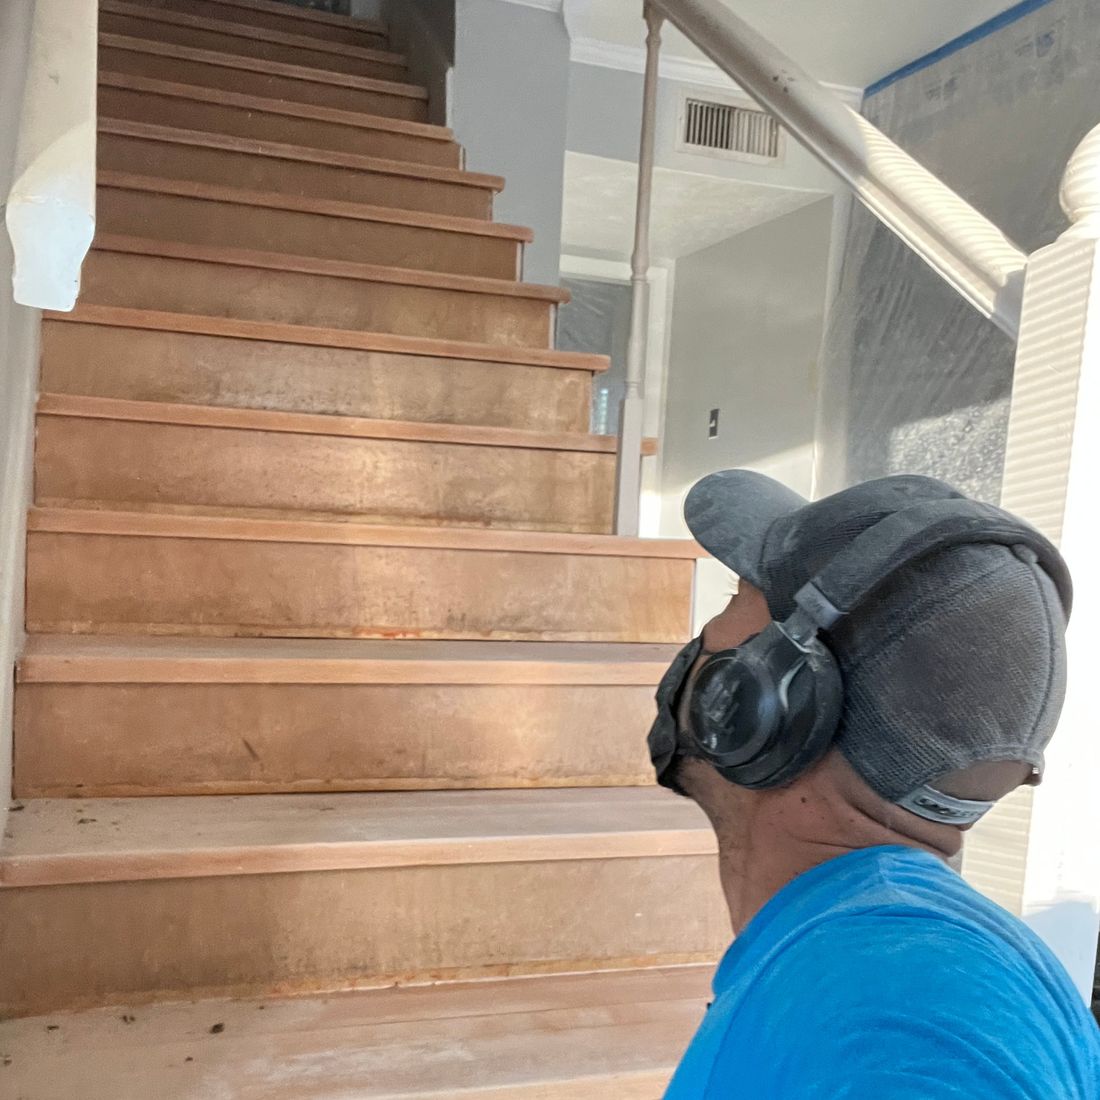
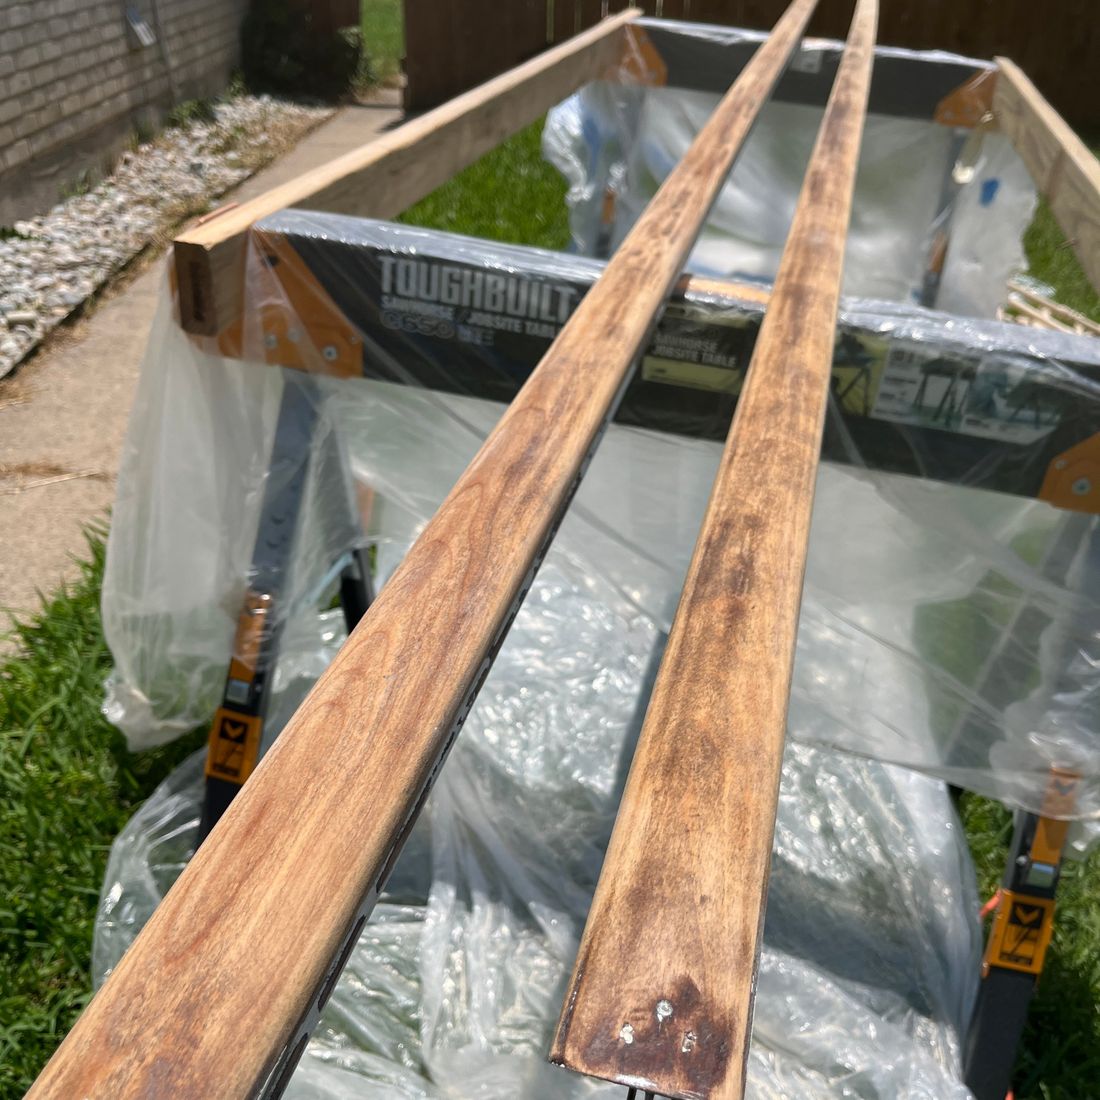
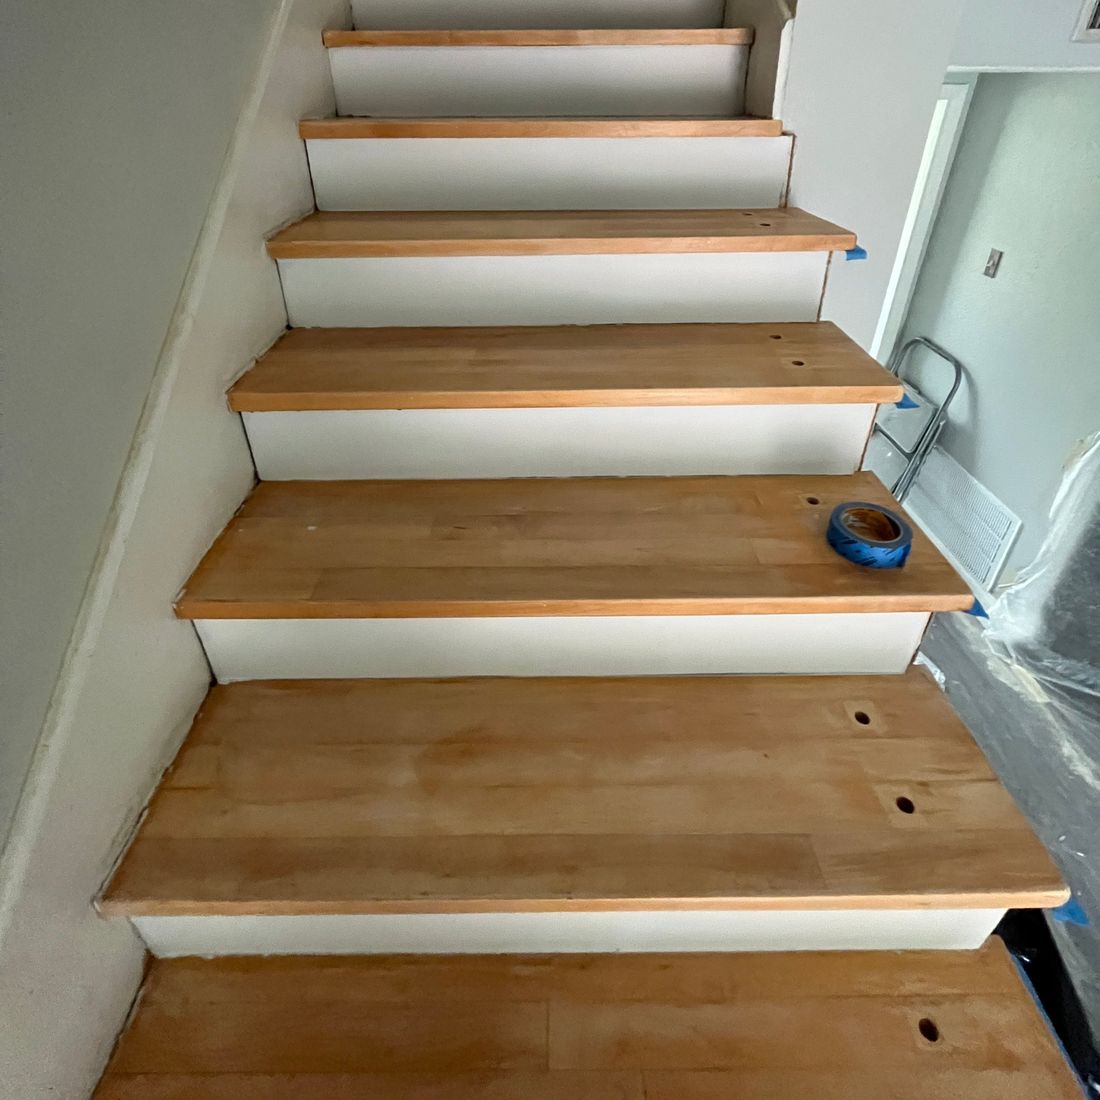
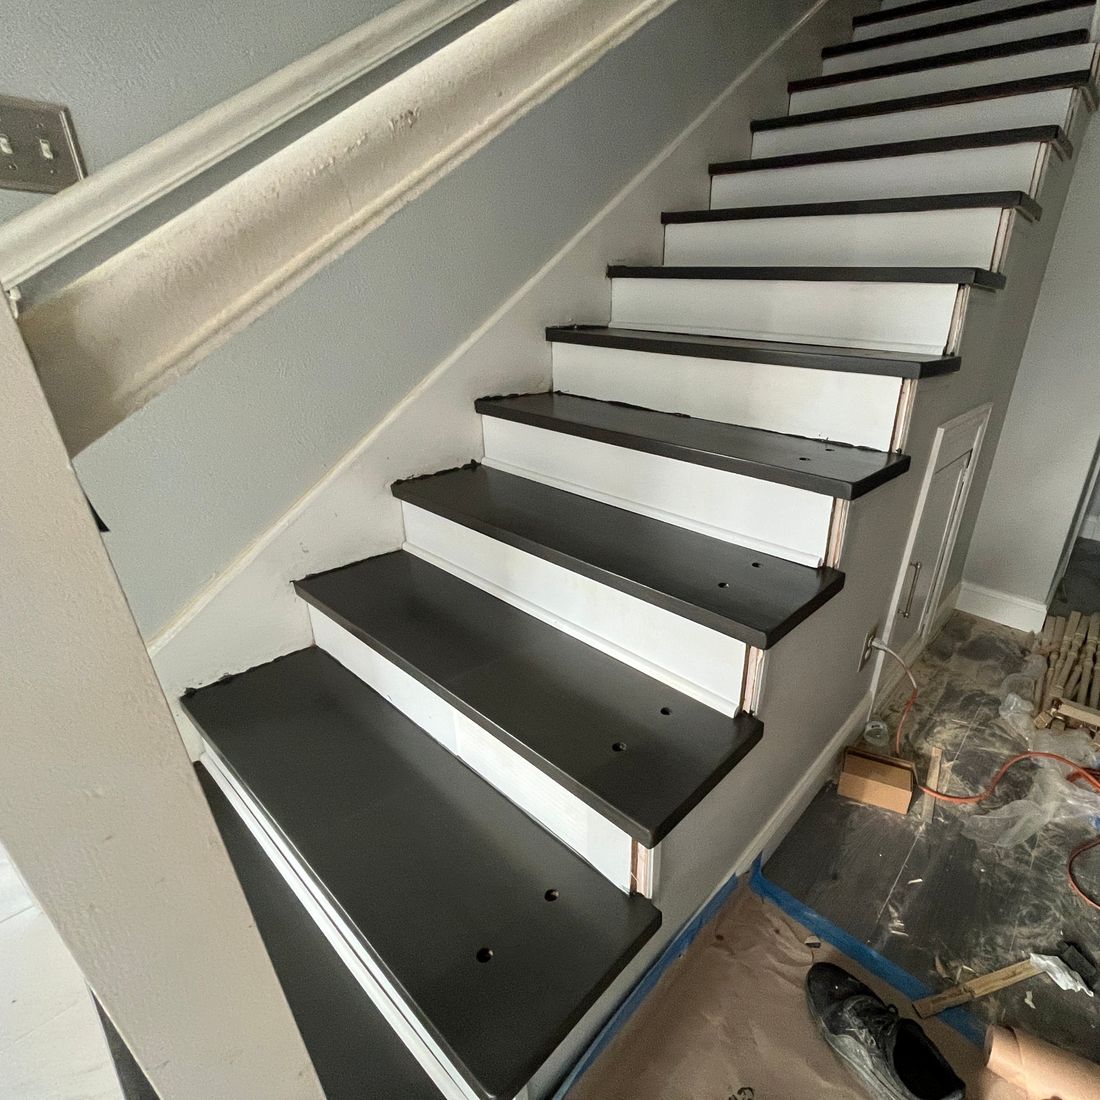
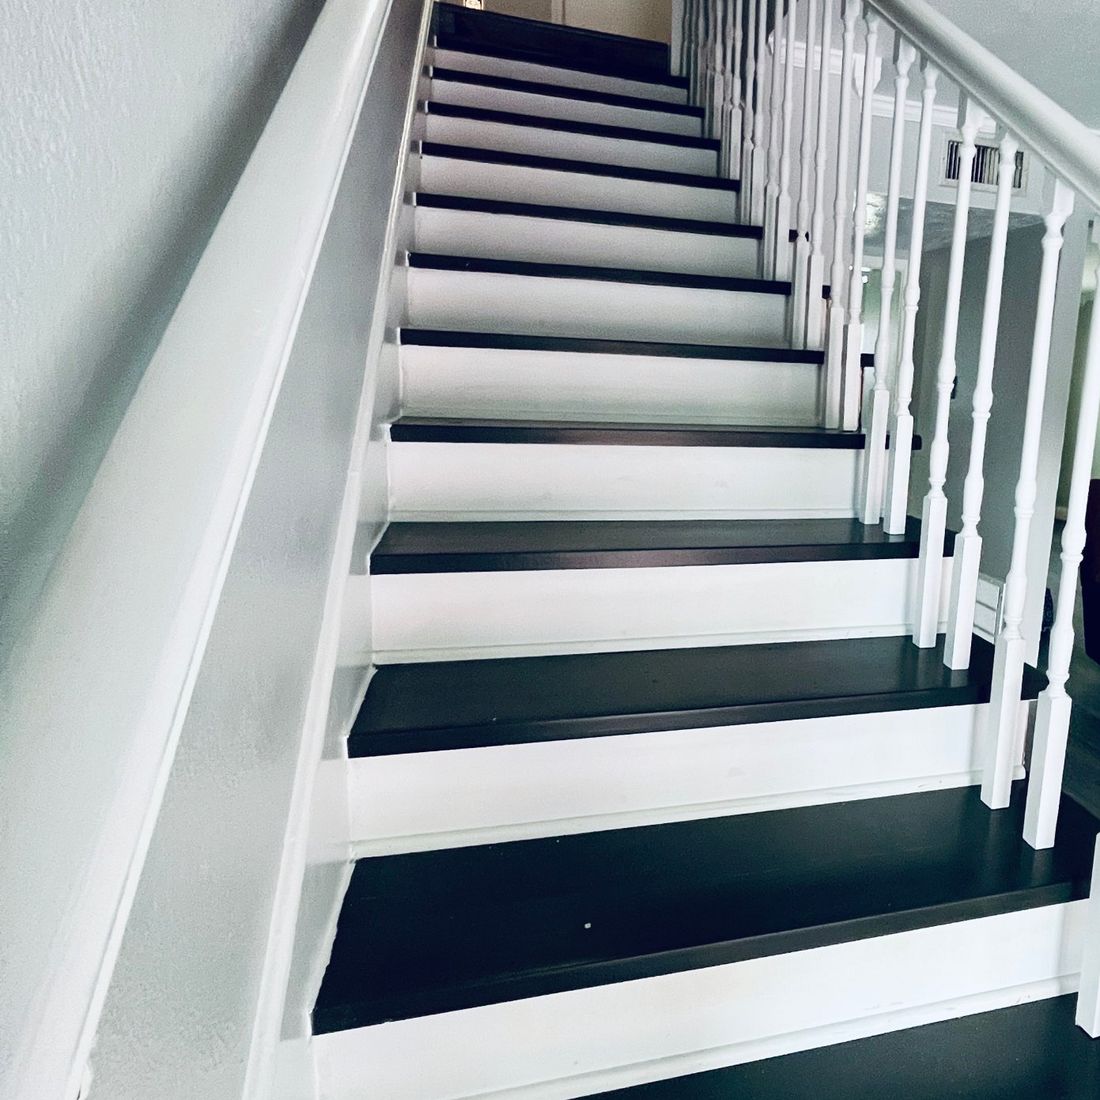
Staircase refinish
The problem. Worn, orange-toned treads and risers and a chipped, painted handrail made the entry stairs look dated.
How we fixed it. We pulled the balusters, sanded every tread and riser, painted the risers white, stained the treads a dark espresso, stripped and repainted the handrail, and reinstalled the balusters in fresh white.
Read the full case study
A two-tone stair is one of the biggest visual upgrades you can make to an entry without replacing anything.
 Before
1 / 5
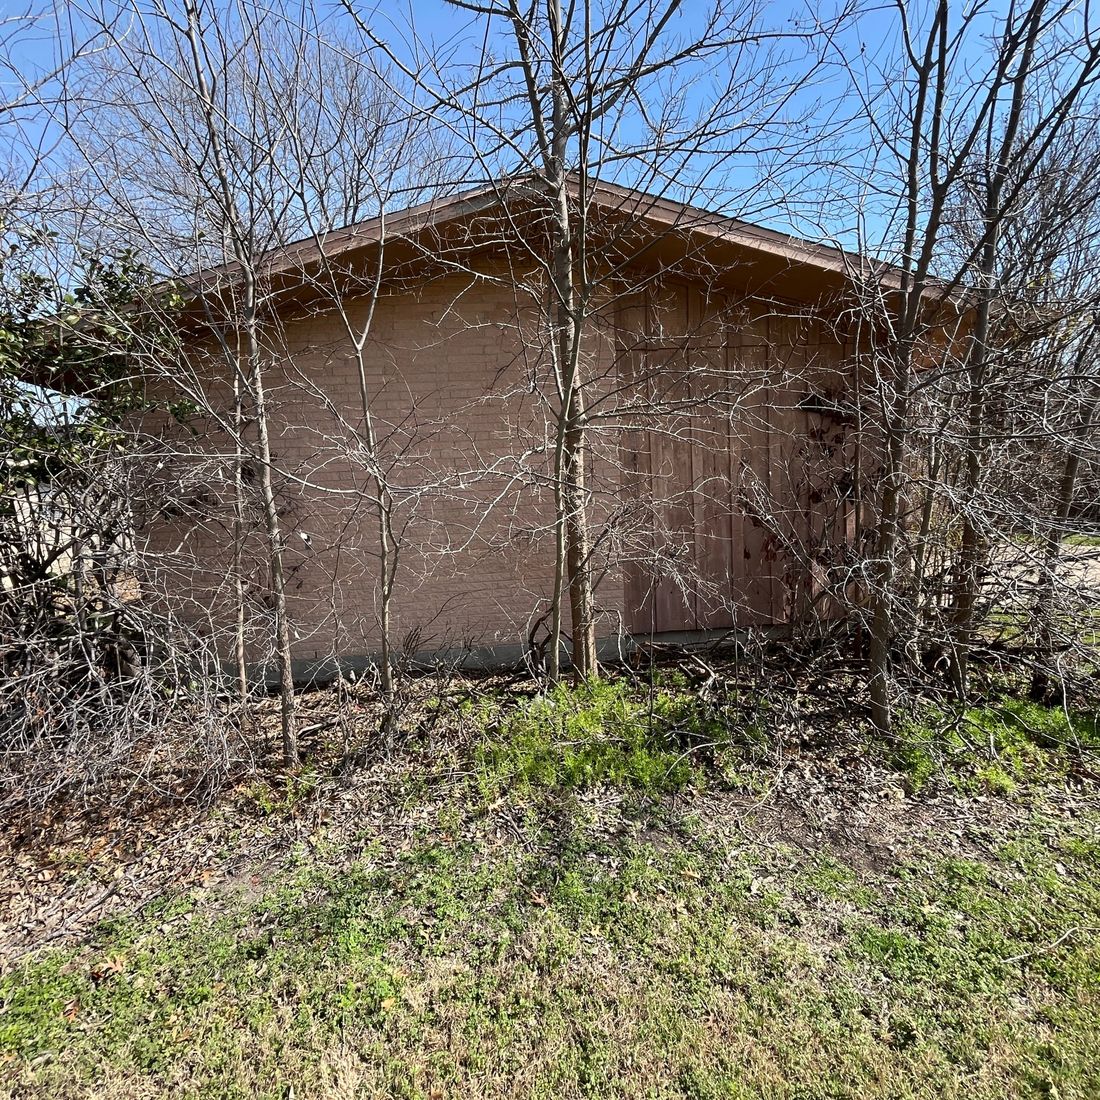
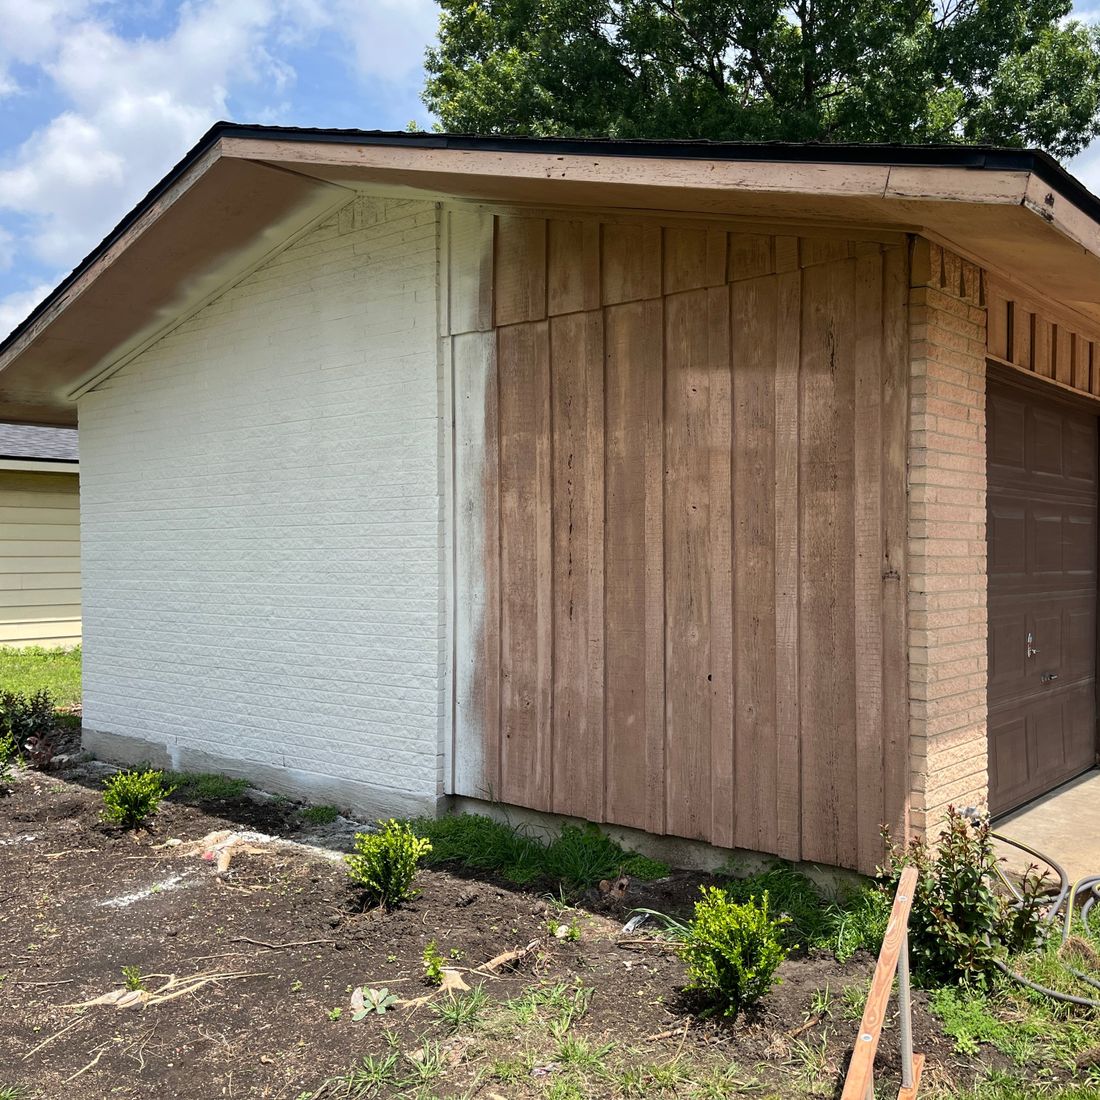
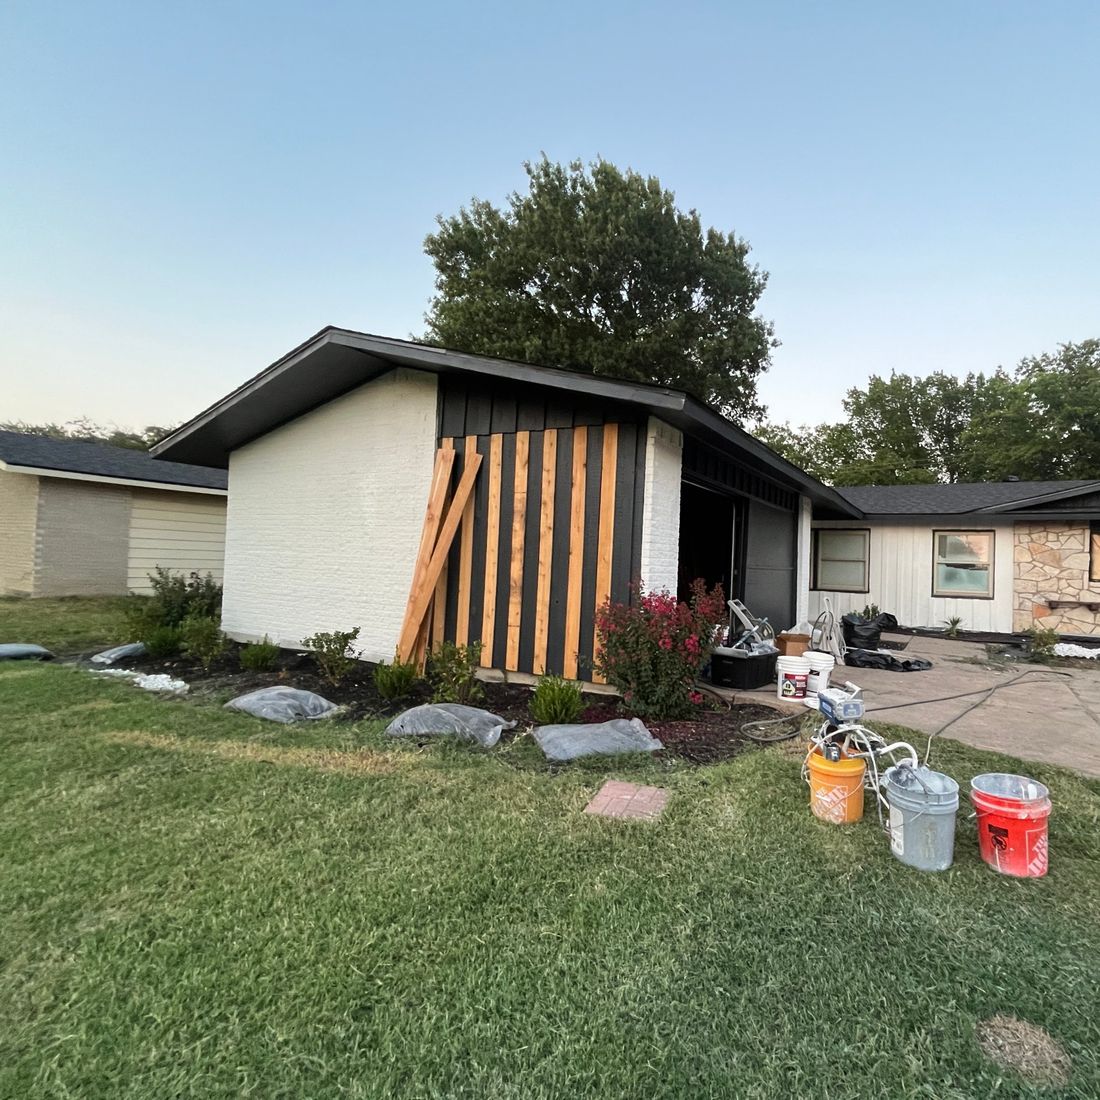
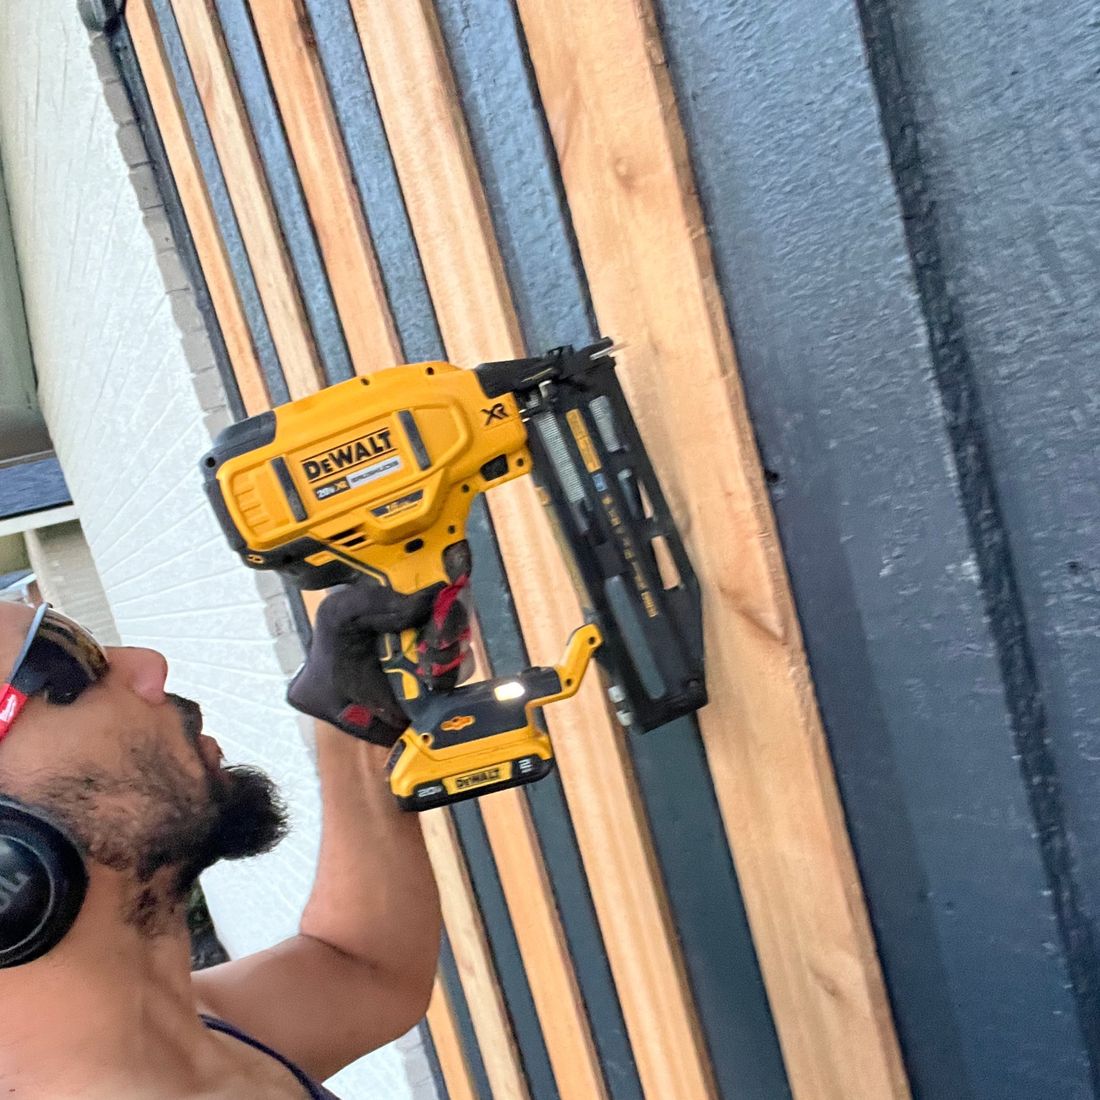
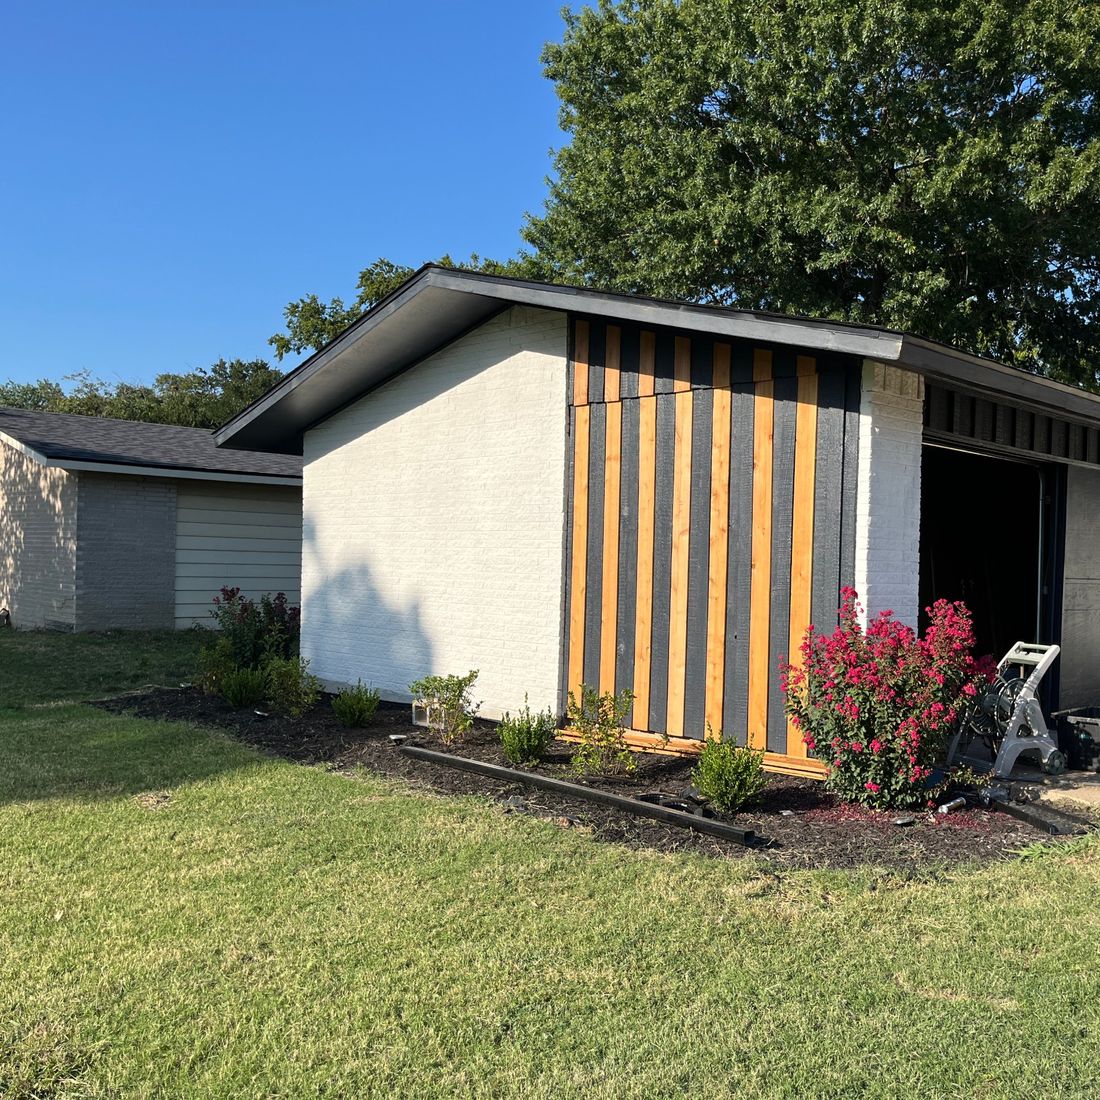
Cedar slat accent wall
The problem. The street-facing wall was buried behind overgrown trees and brush, and the weathered board-and-batten siding underneath dated the whole front of the house.
How we fixed it. We cleared the overgrowth, painted the siding black, painted the brick white, and installed natural cedar slats on even spacing for a clean, vertical accent.
Read the full case study
Black and natural cedar is a high-contrast, low-maintenance look that instantly modernizes a mid-century ranch.
 Before
1 / 4
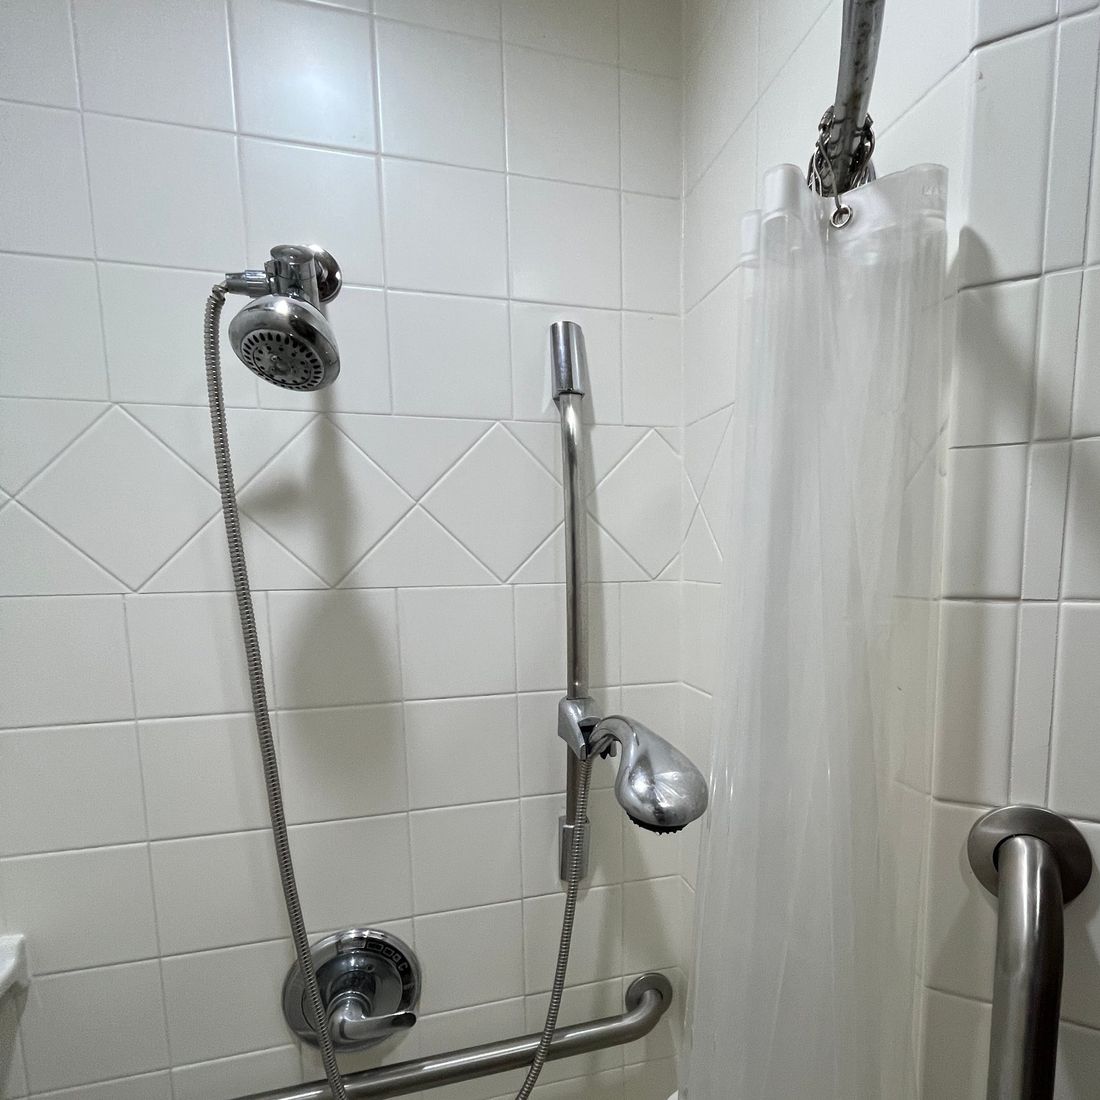
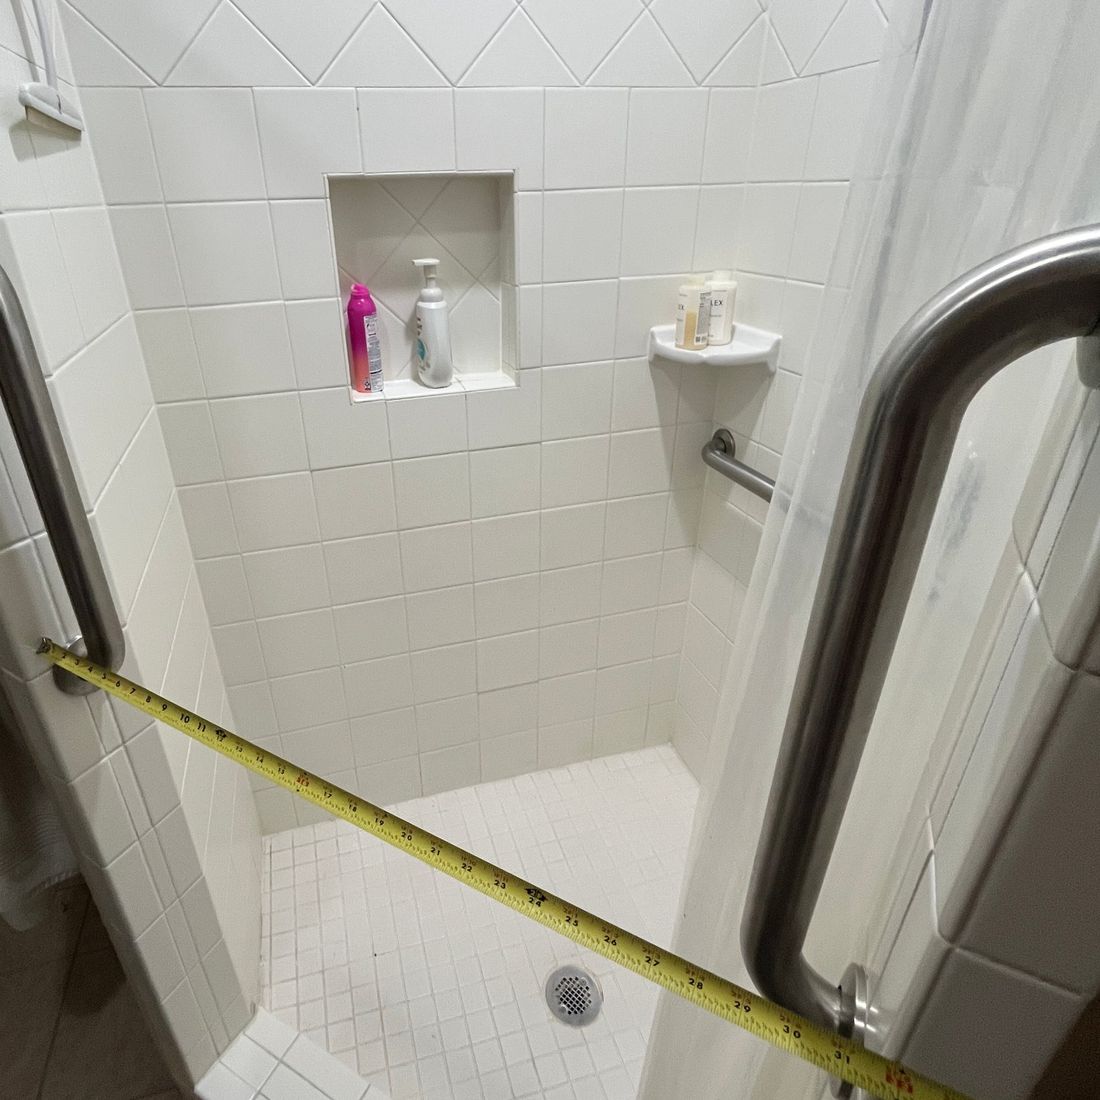
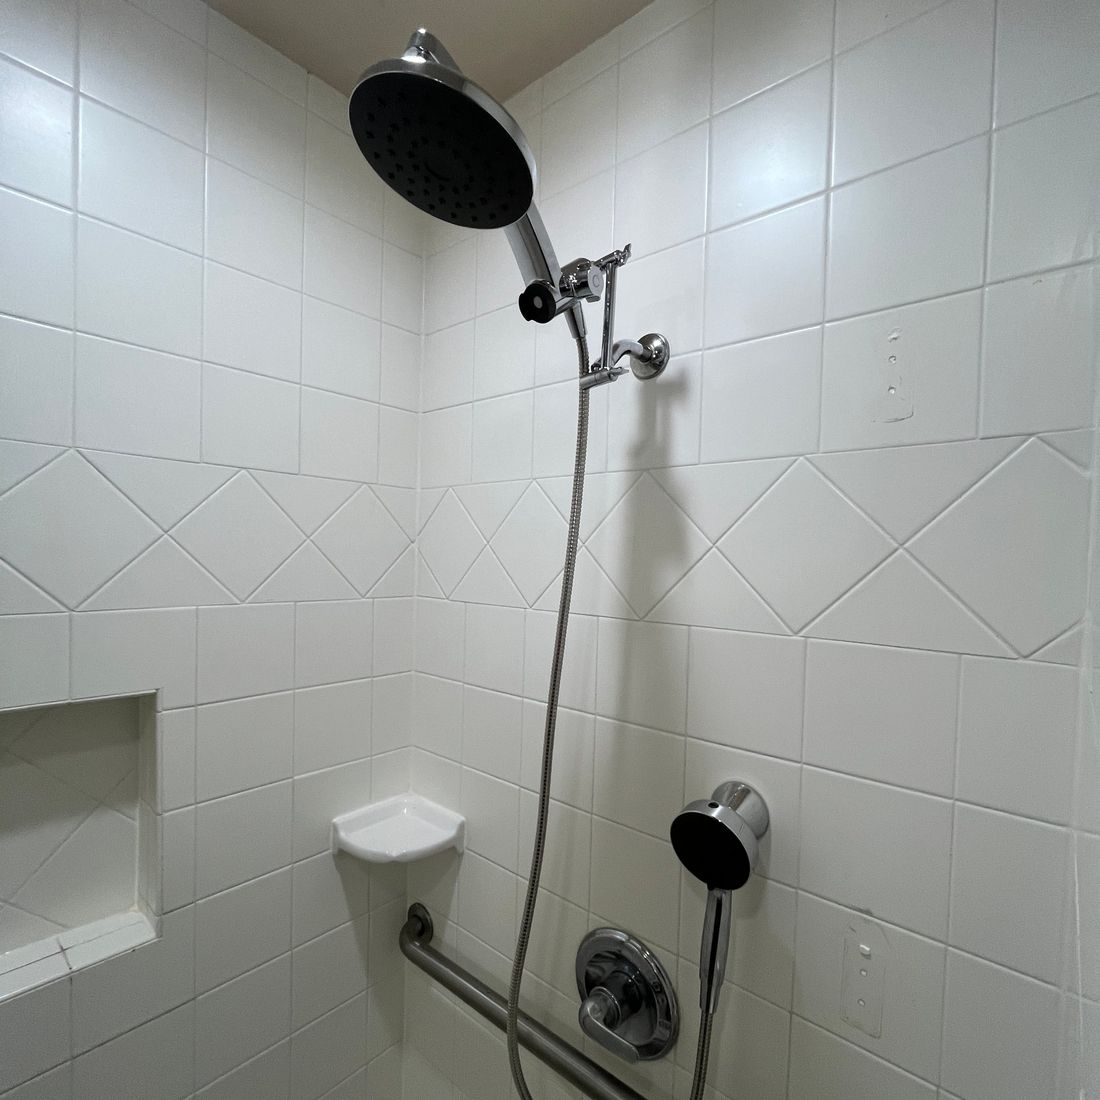
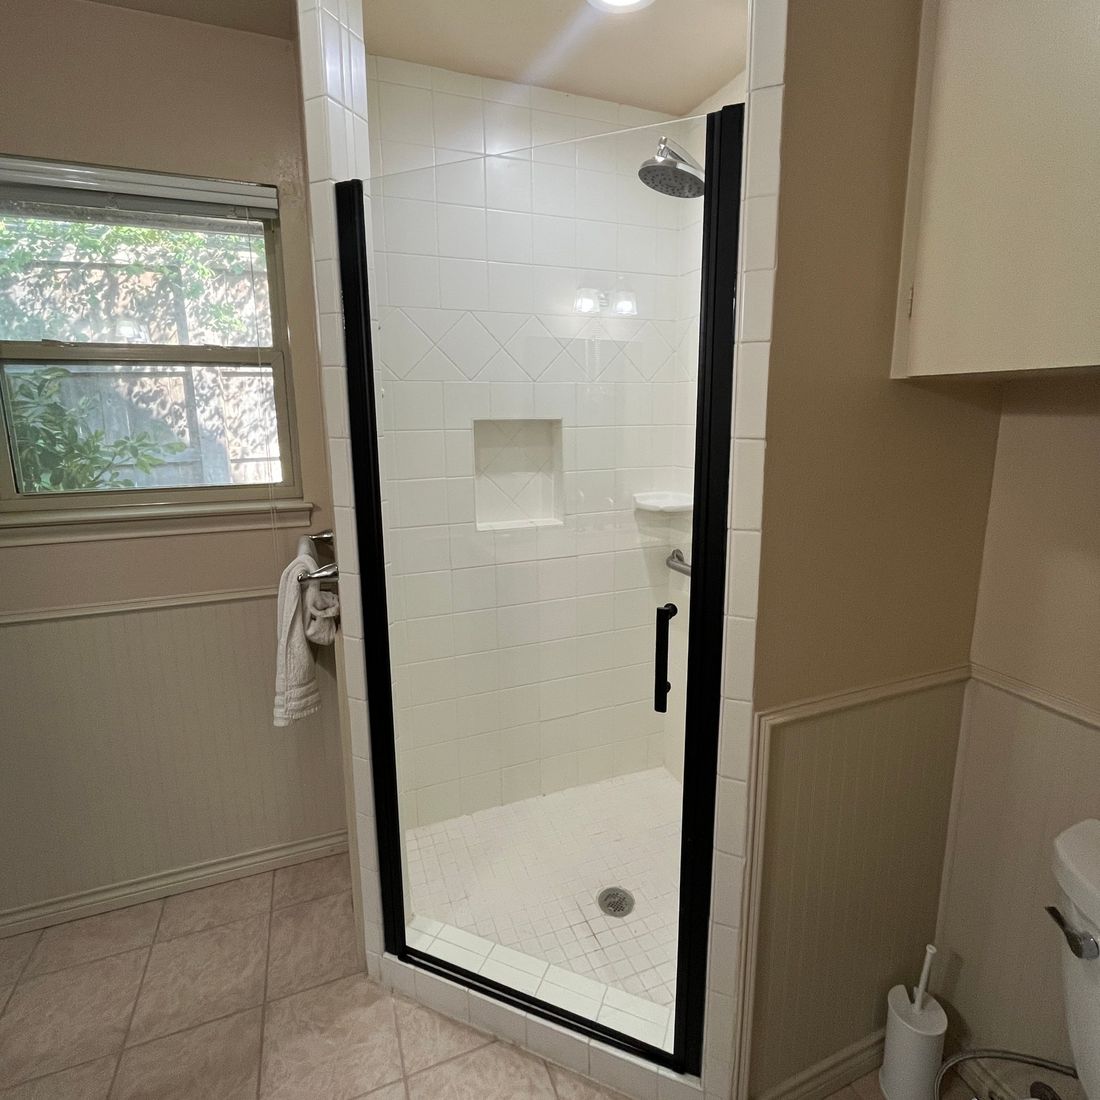
Walk-in shower refresh
The problem. A walk-in shower with a fabric curtain and dated fixtures.
How we fixed it. We measured the opening for a custom black-frame glass door, installed a new rain head and handheld shower, and hung the door.
Read the full case study
The result is a cleaner, brighter shower that is easier to keep dry and easier to use every day.
 Before
1 / 3
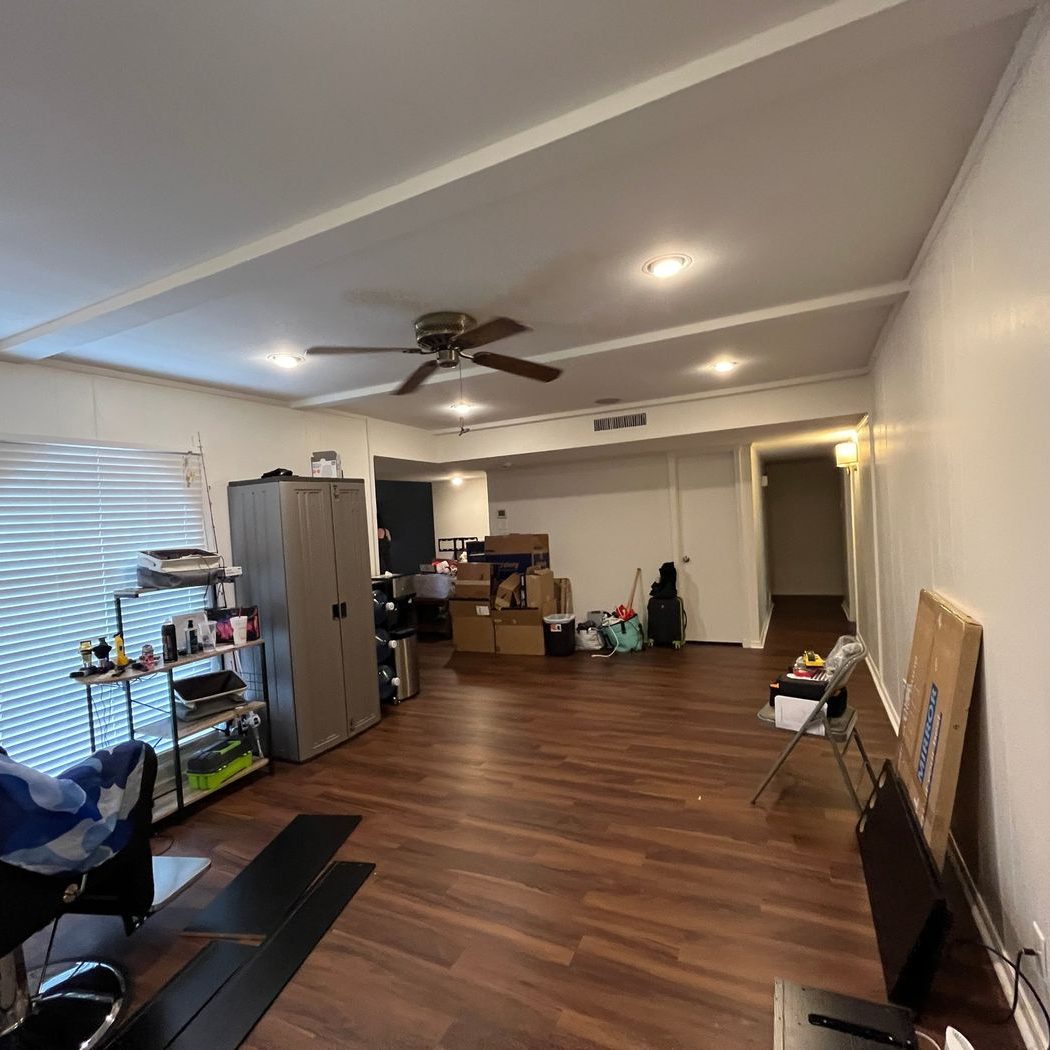
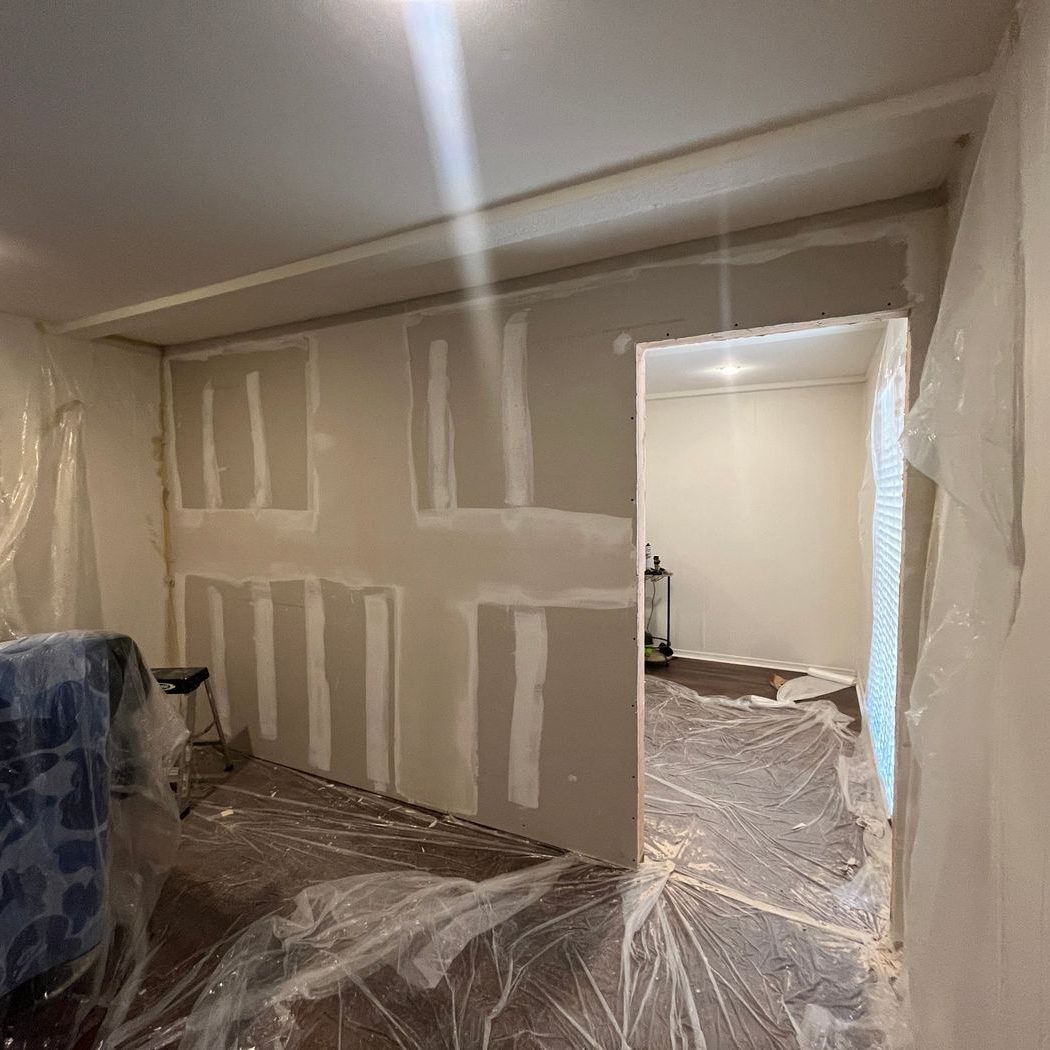
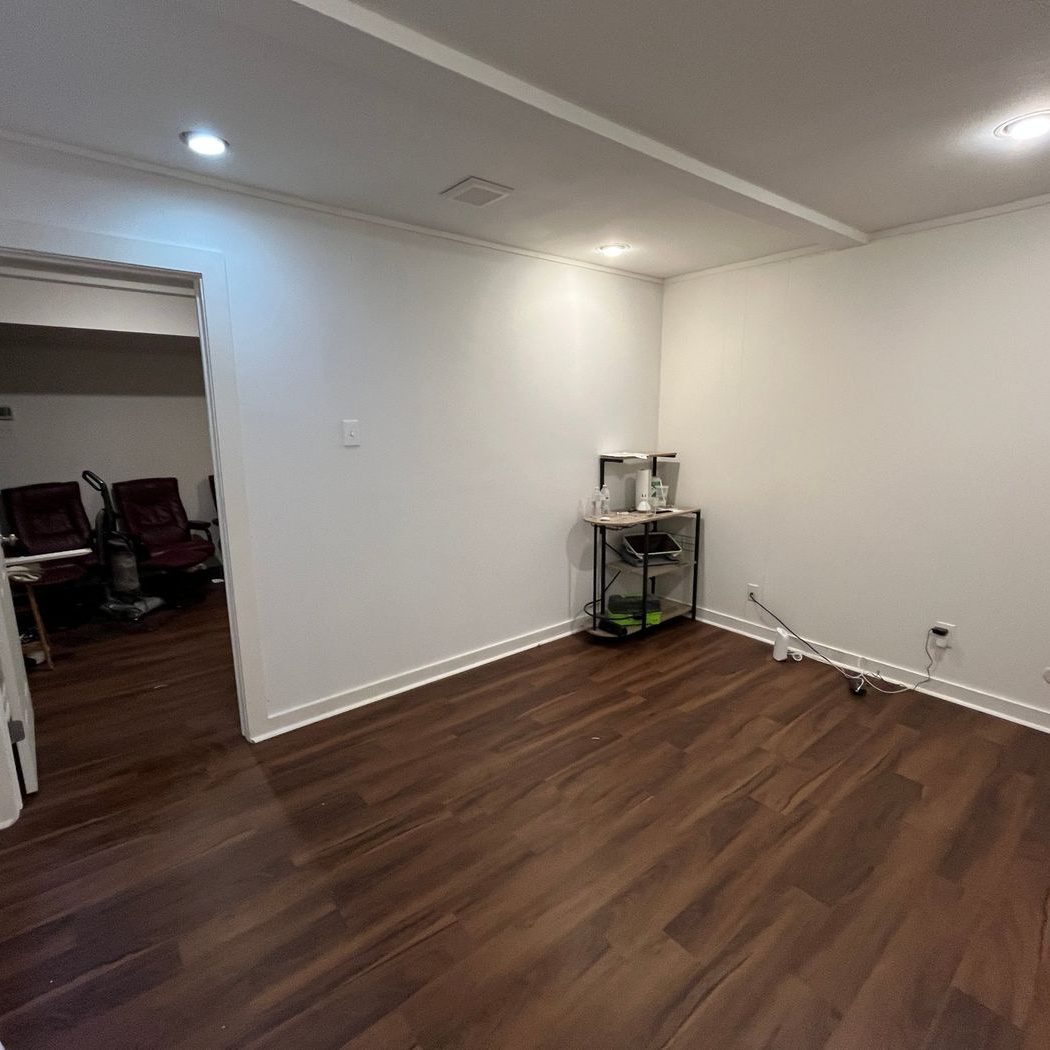
Partition wall with doorway
The problem. An open living area needed to become two separate, usable rooms.
How we fixed it. We framed a new partition wall with a doorway, hung and finished the drywall, matched the texture, and painted it with new trim and baseboard.
Read the full case study
The floors were protected throughout, and the finished wall blends into the existing room as if it had always been there.
 Before
1 / 5
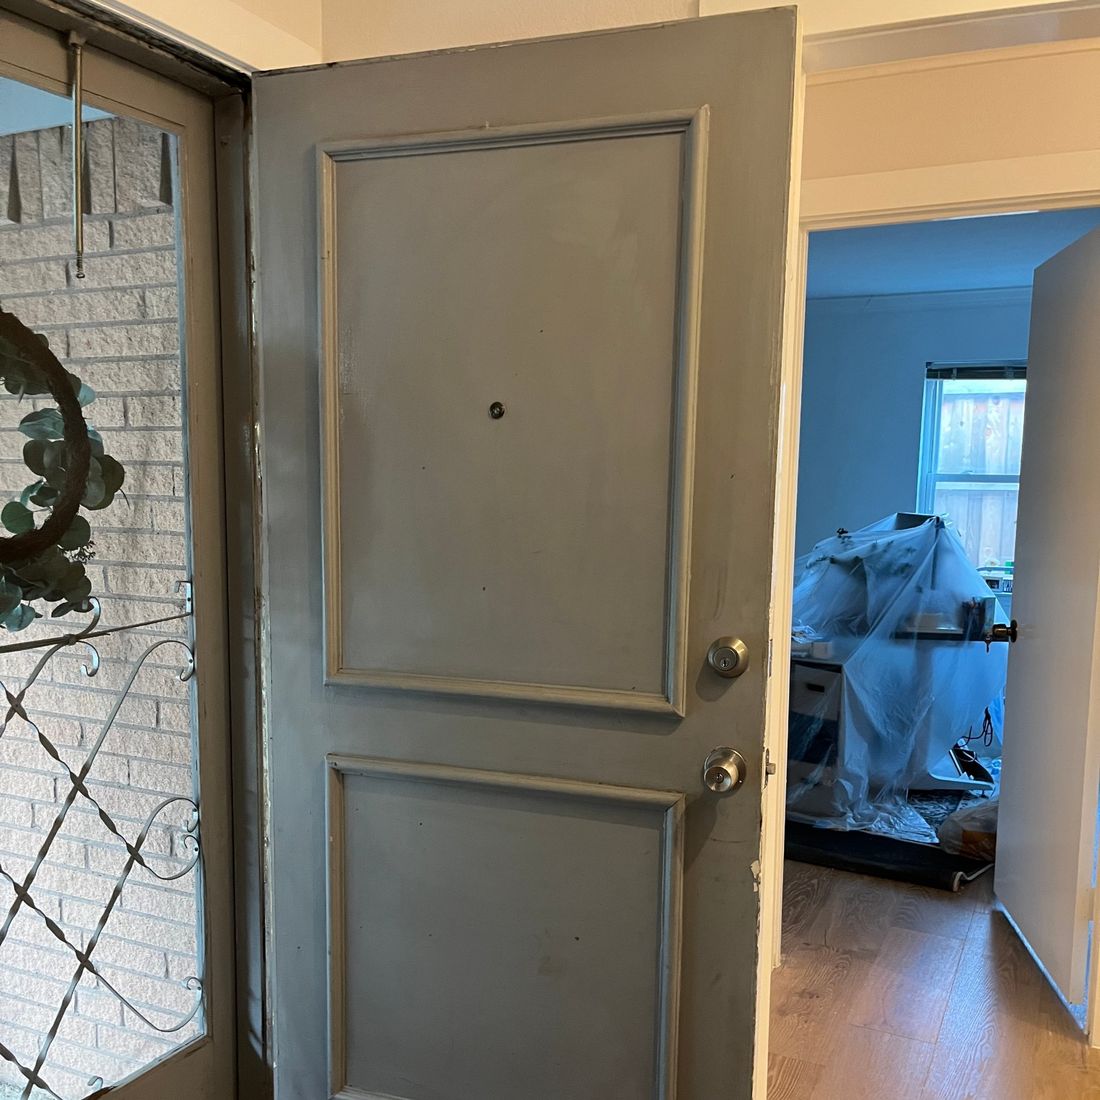
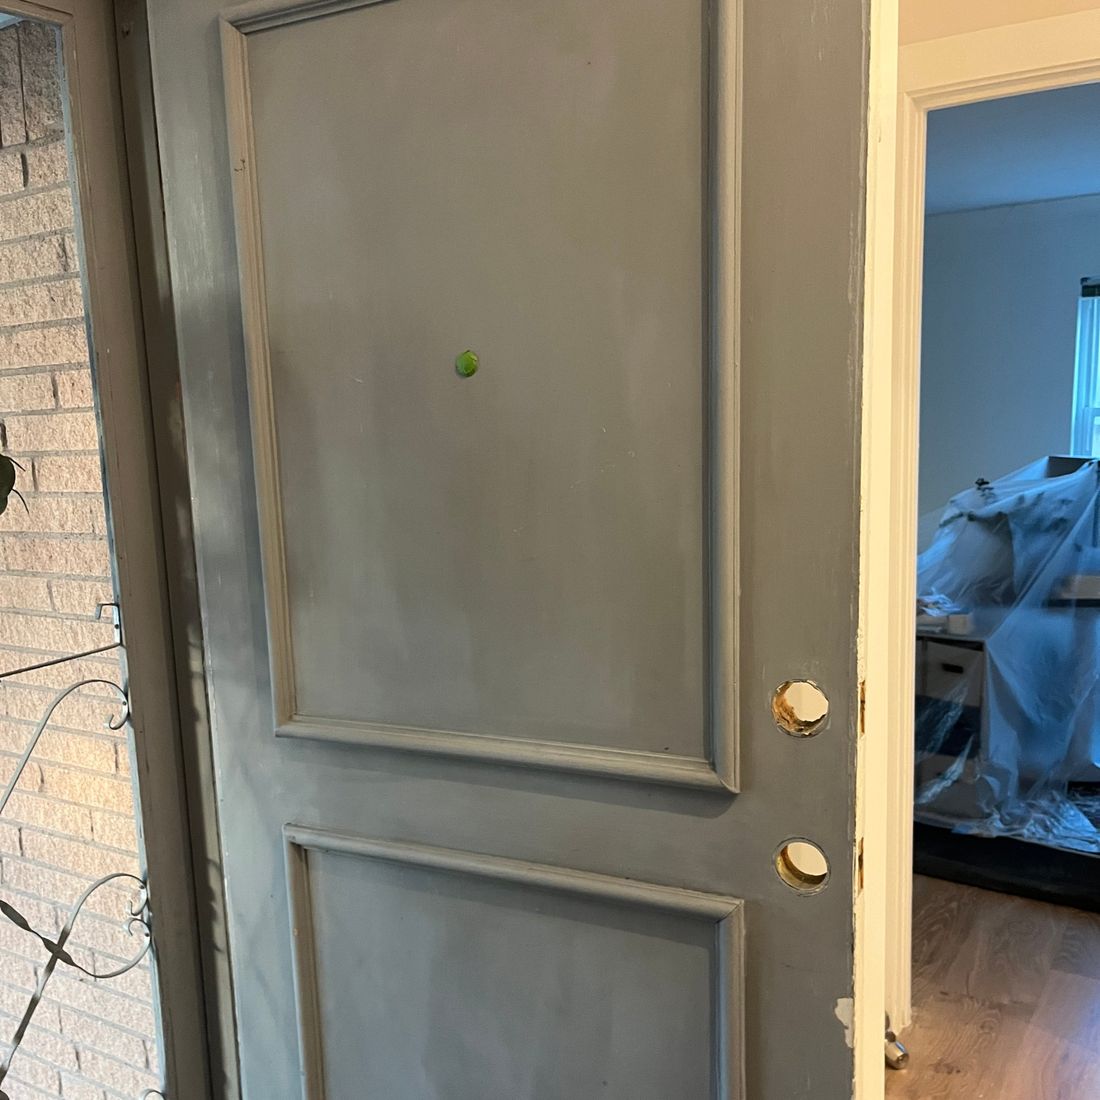
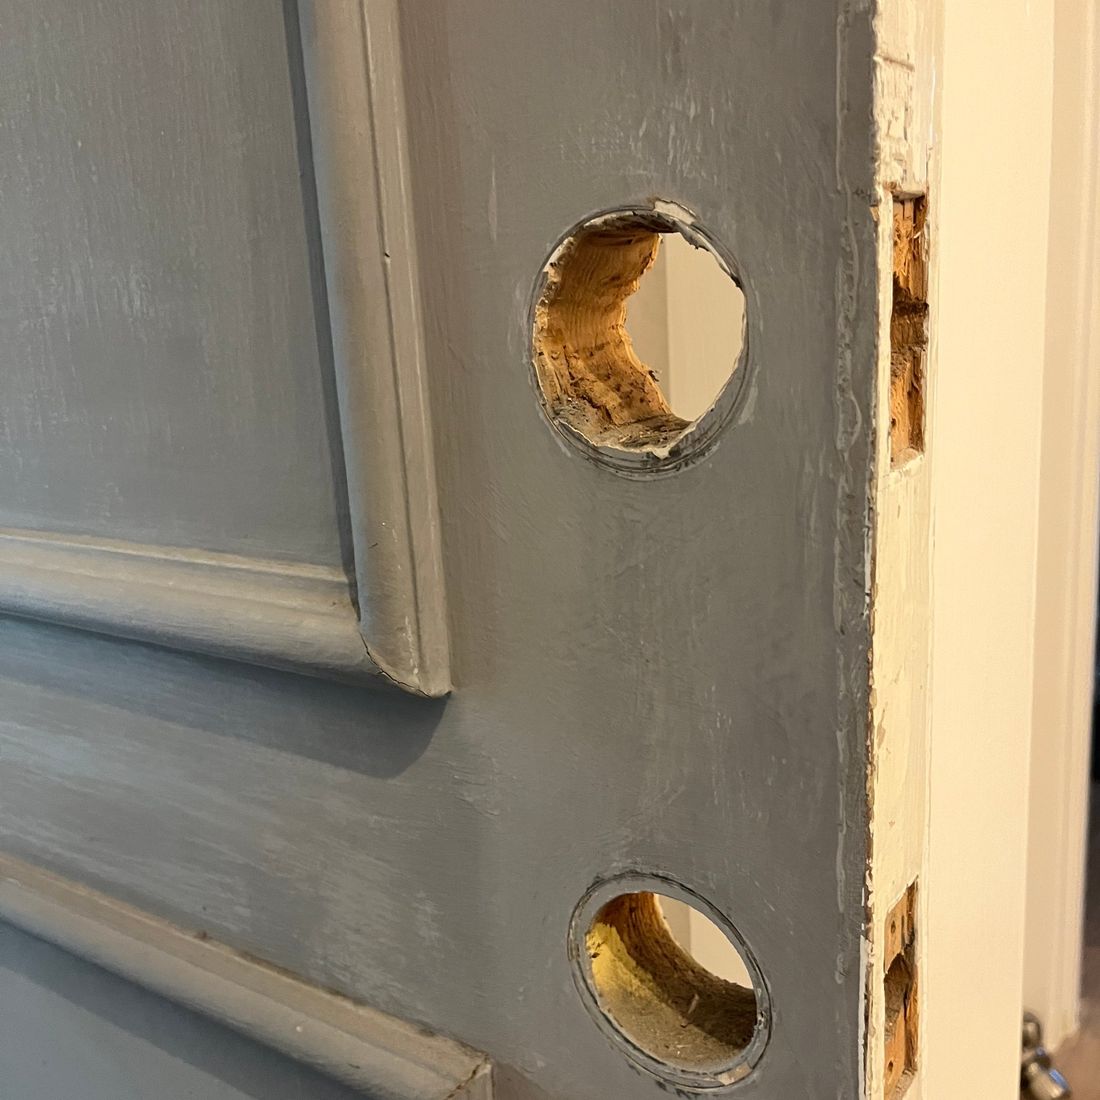
Front door restoration
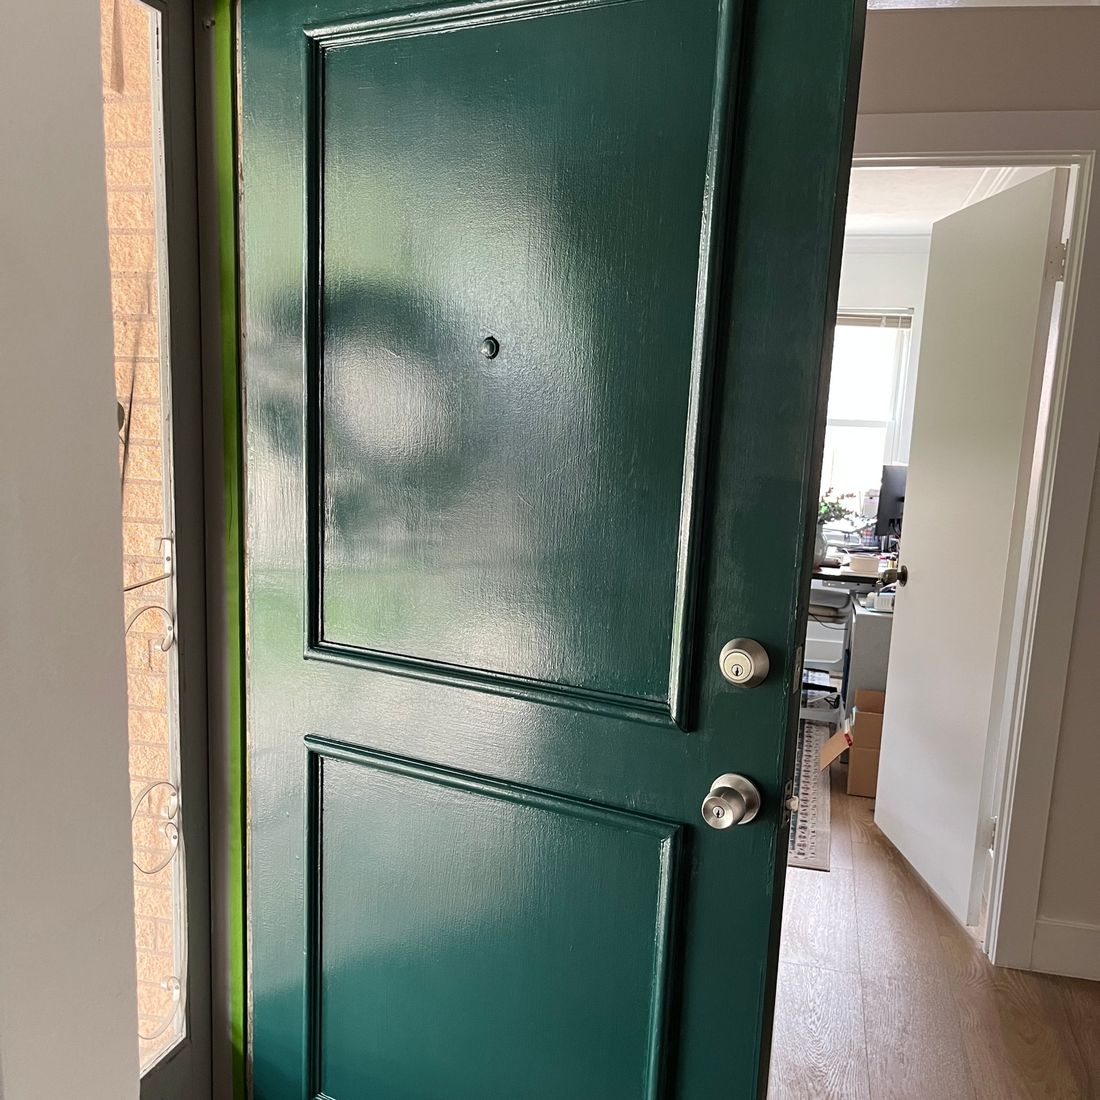
The problem. A weathered front door with chipped paint, worn edges and splintered wood around the lock and latch.
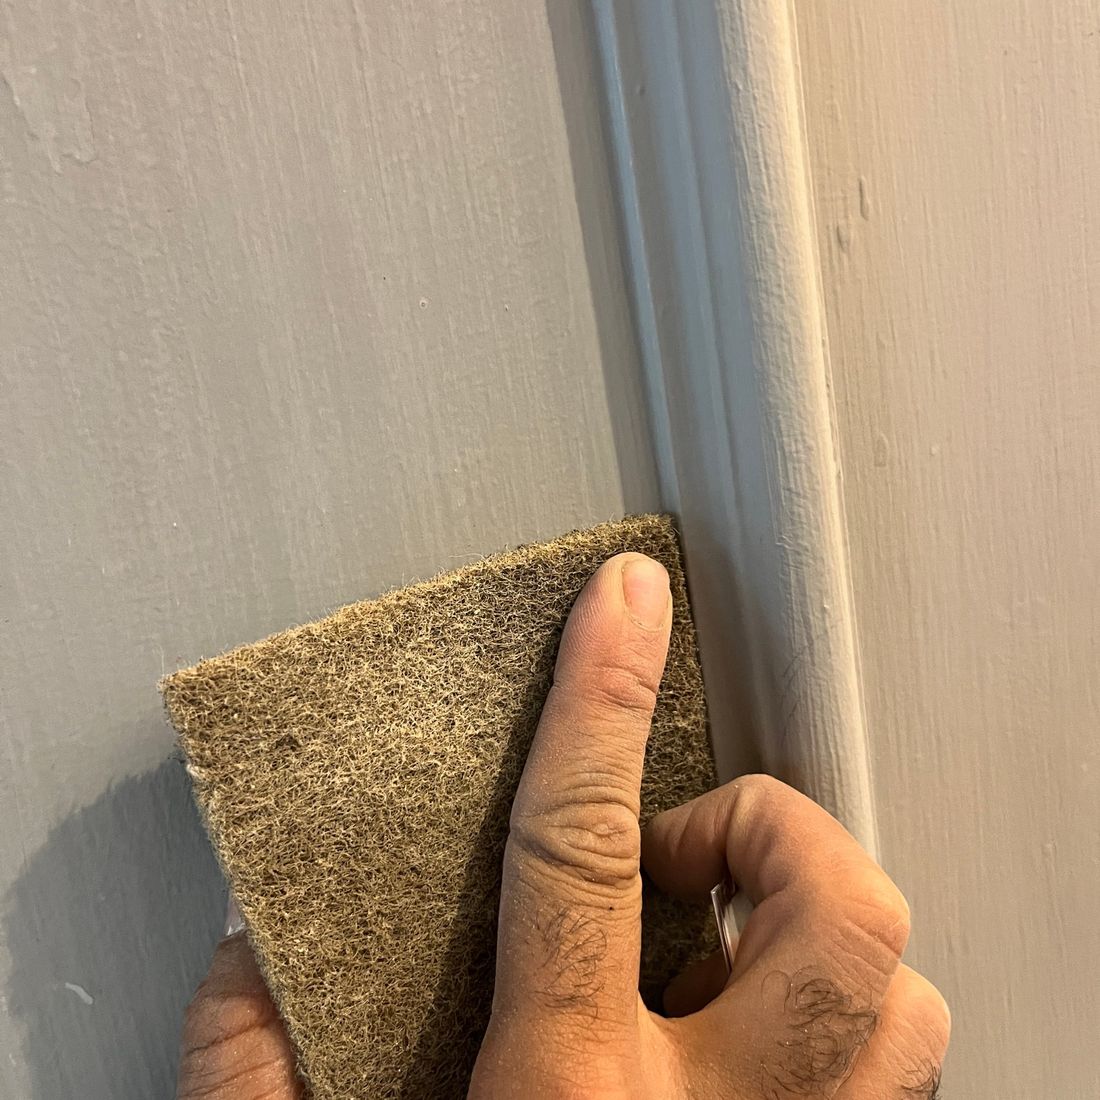
How we fixed it. We pulled the hardware, repaired the damaged wood, scuff-sanded and prepped every panel, then painted it a deep high-gloss green and reinstalled the hardware.
Read the full case study
A front door is the first thing guests see. Proper prep, not just another coat, is what makes the new finish bond and last.
 Before
1 / 5
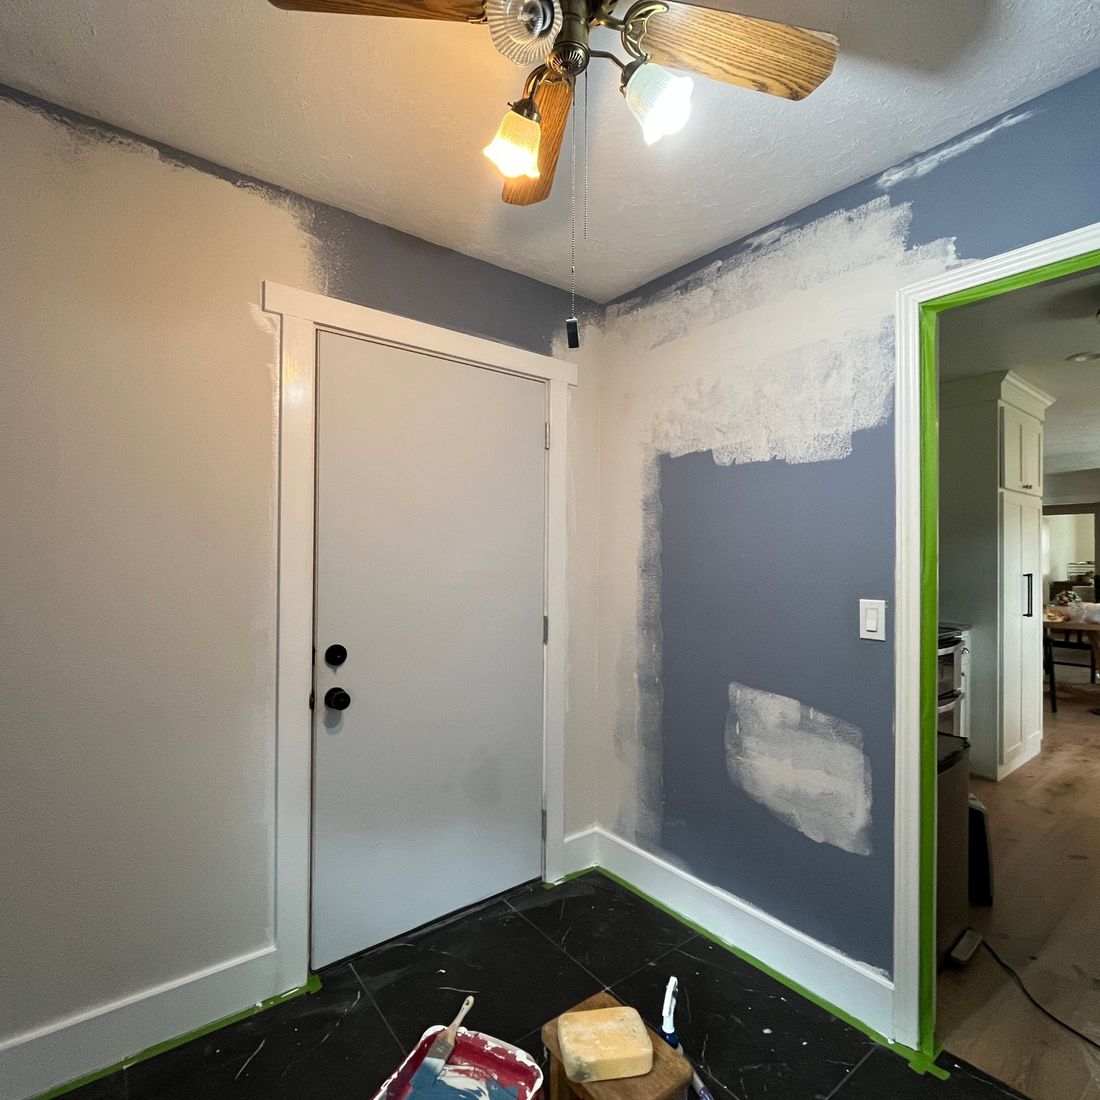
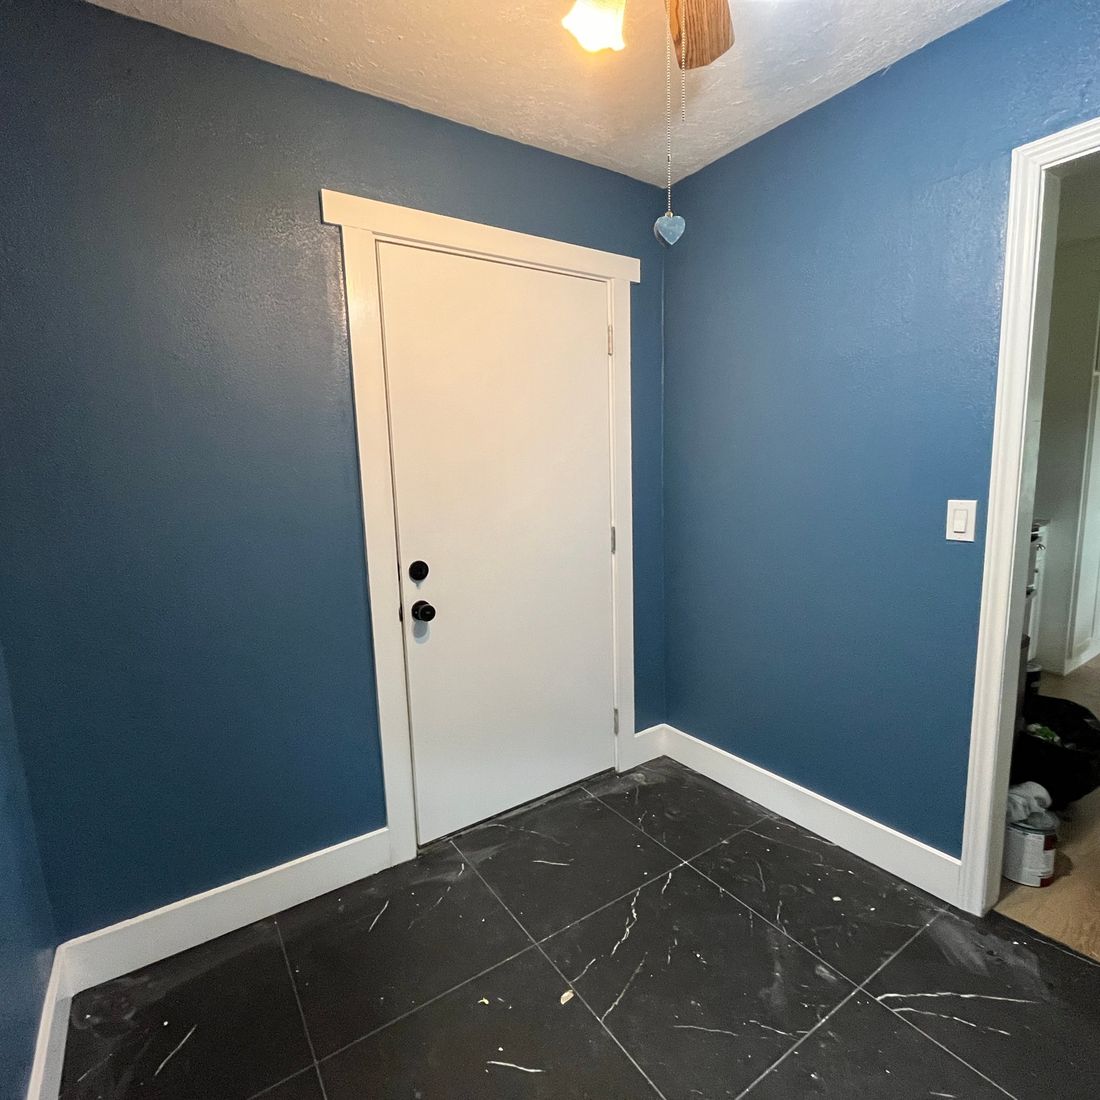
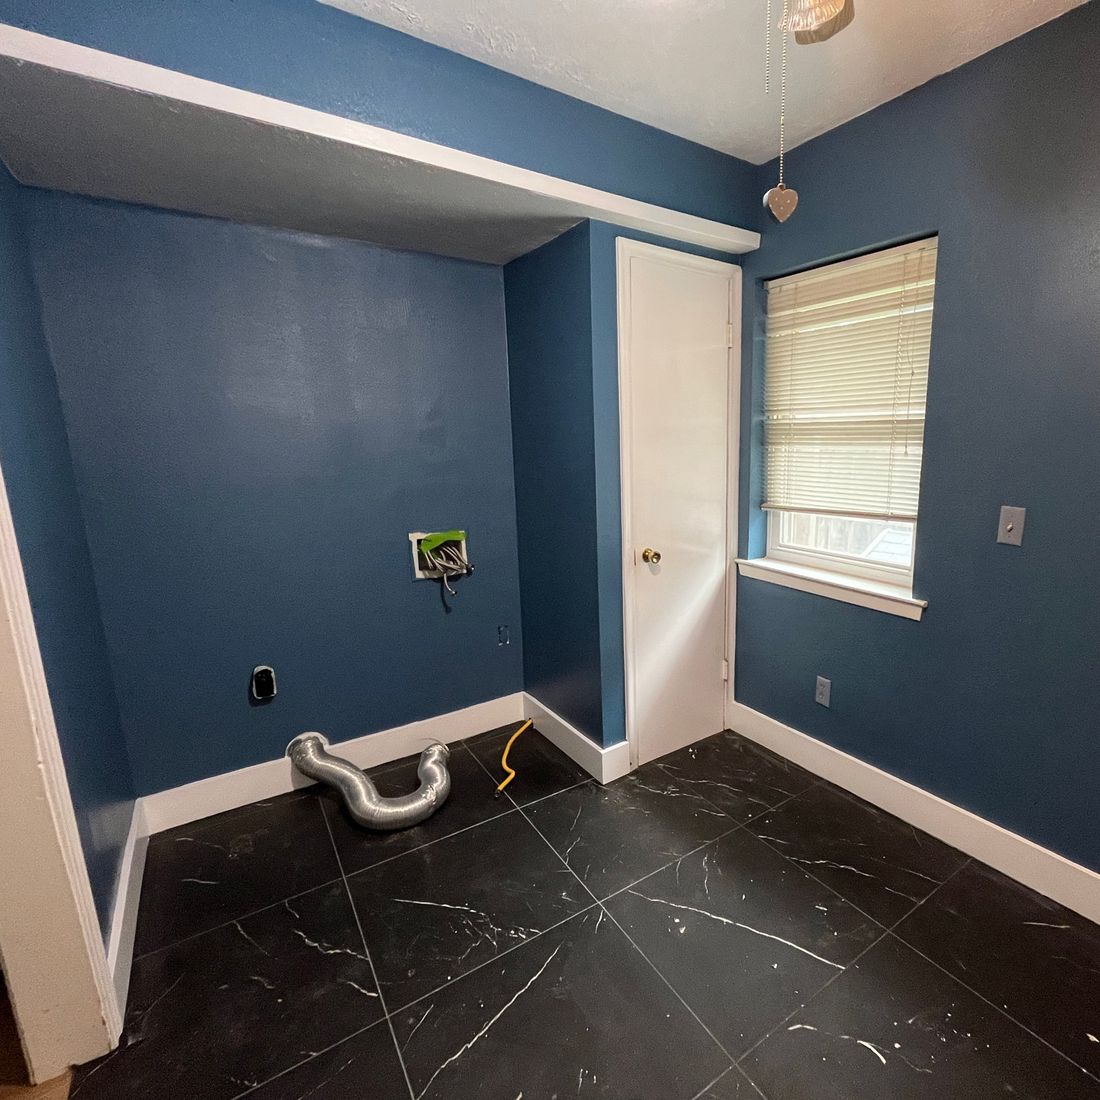
Laundry room patch and repaint
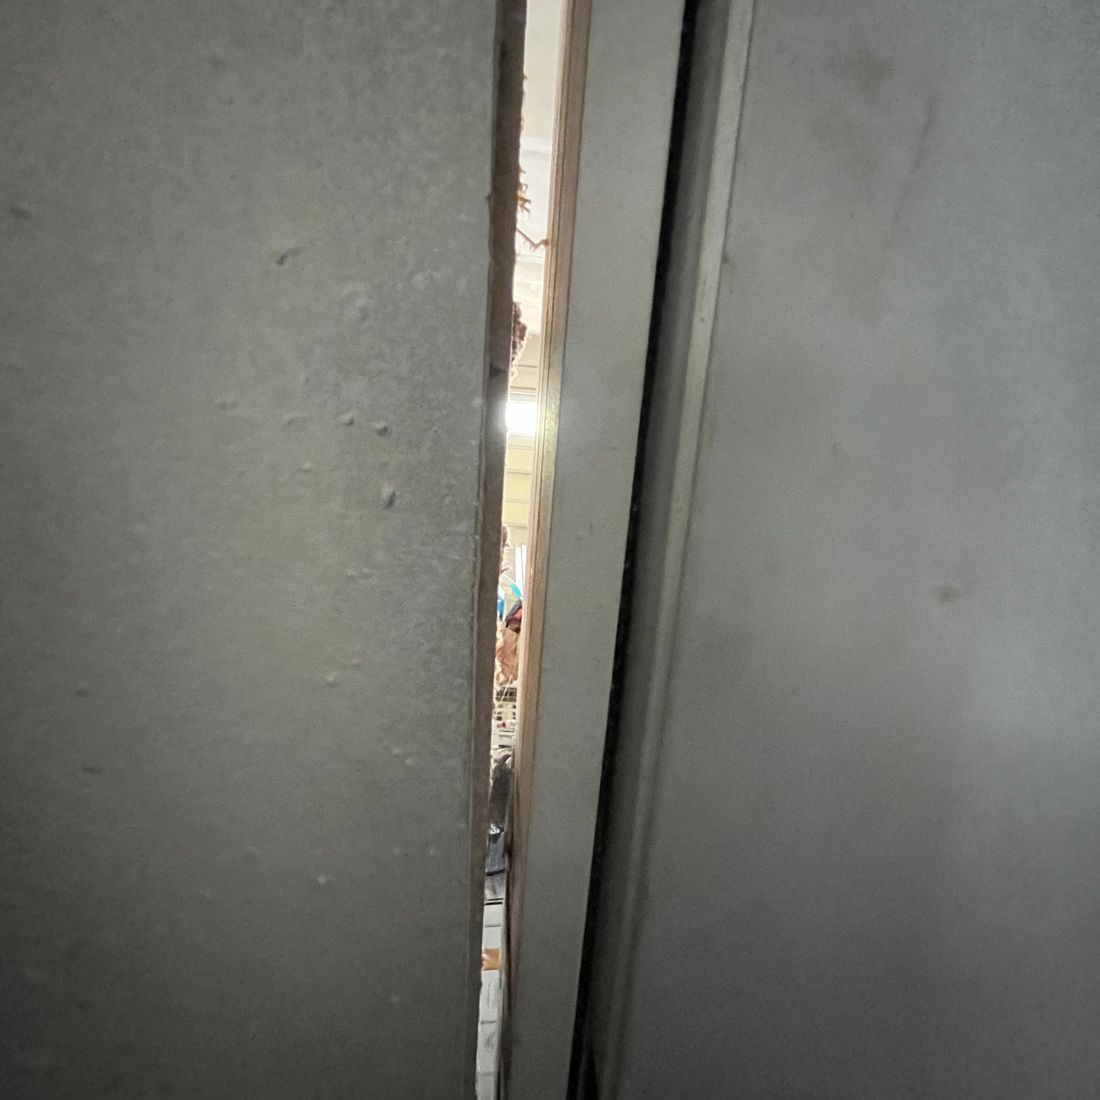
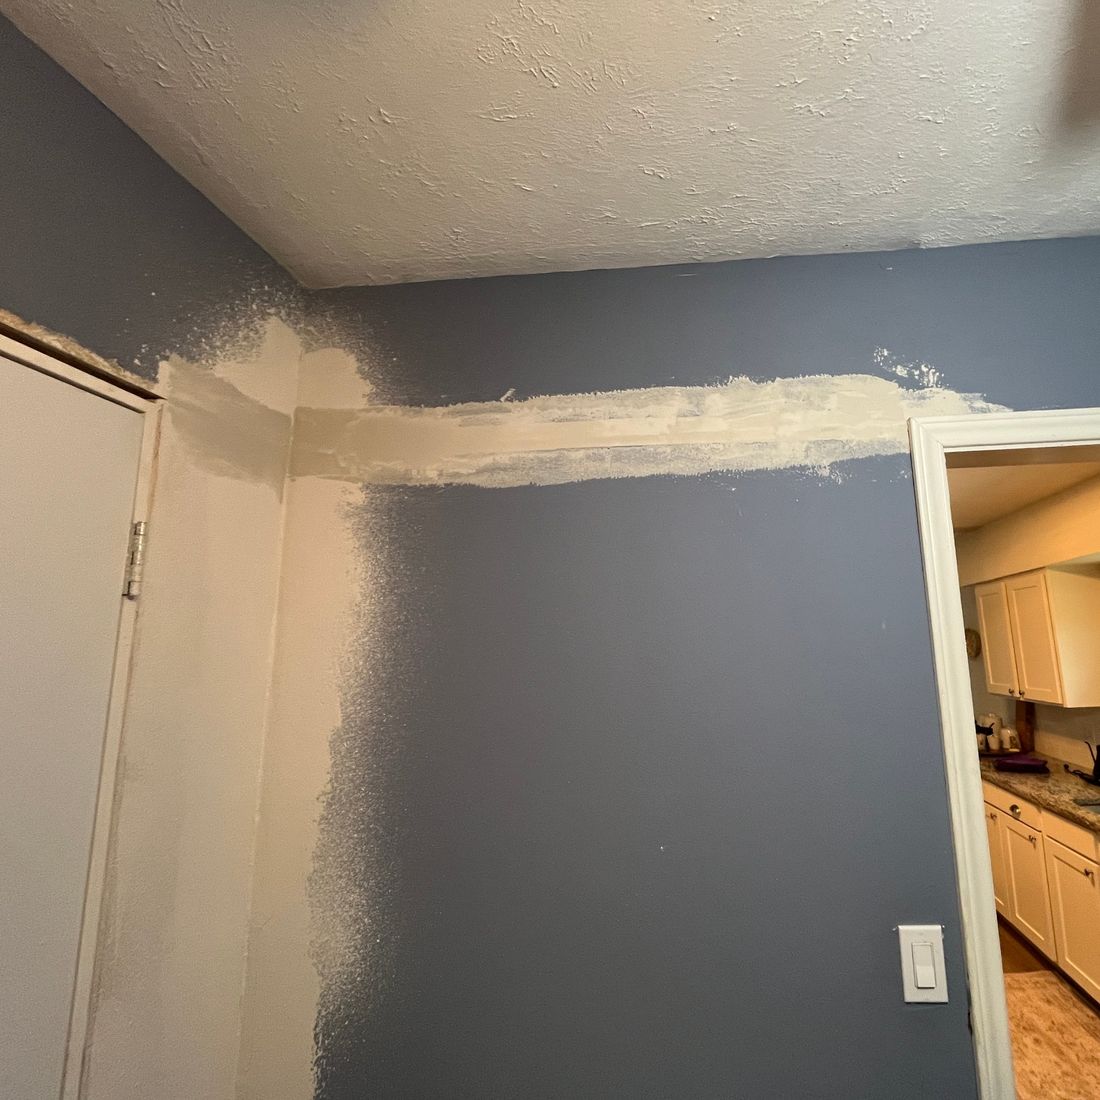
The problem. Daylight showed around the exterior door, and the walls around the frame and ceiling line were damaged and patchy.
How we fixed it. We reset and sealed the door, re-trimmed it, patched the walls along the frame and ceiling line, primed every repair, and repainted the room top to bottom.
Read the full case study
A drafty door and a tired room became a clean, sealed laundry space with sharp white trim against a deep blue wall.
 Before
1 / 3
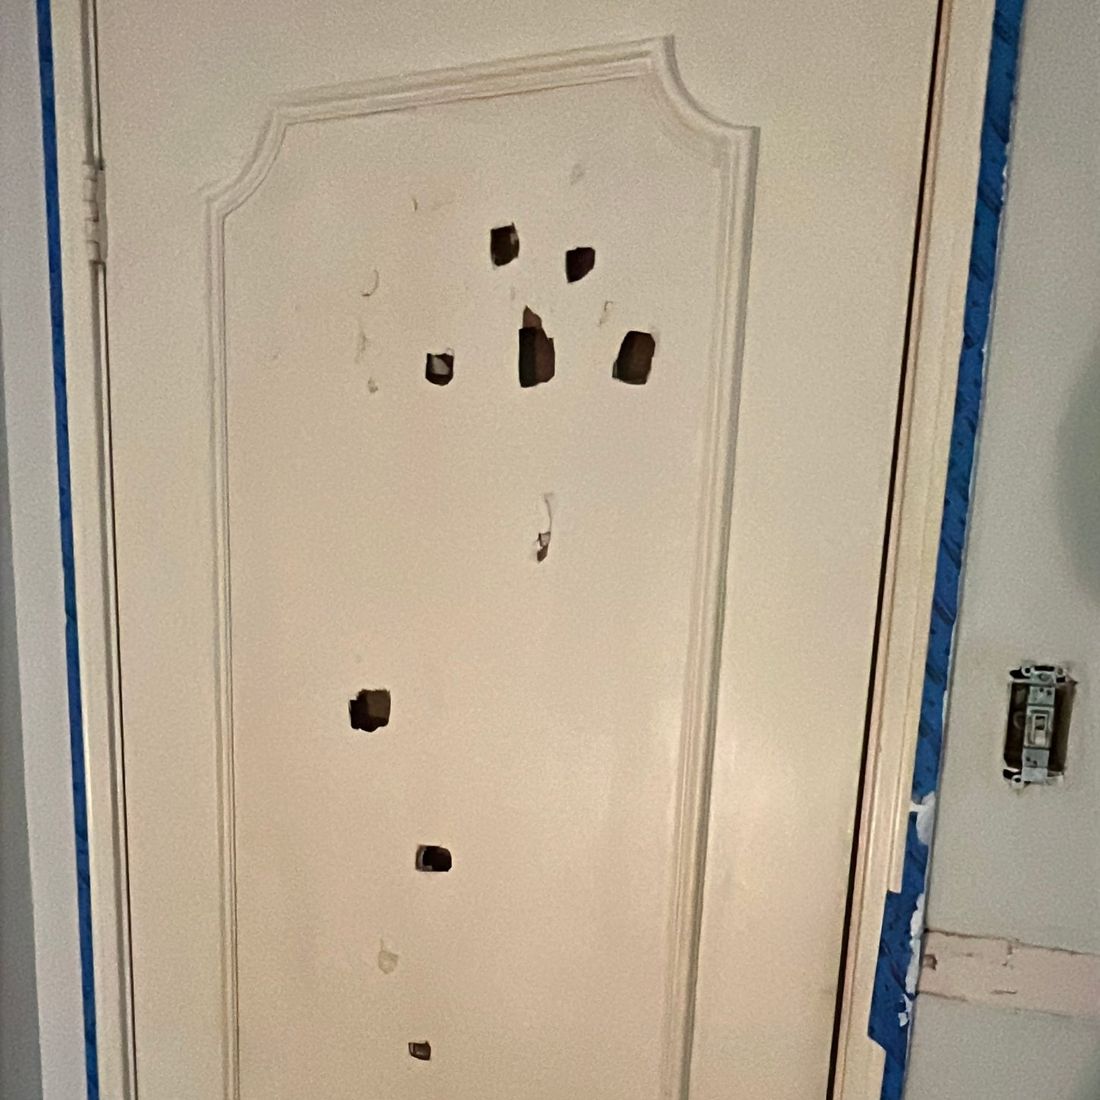
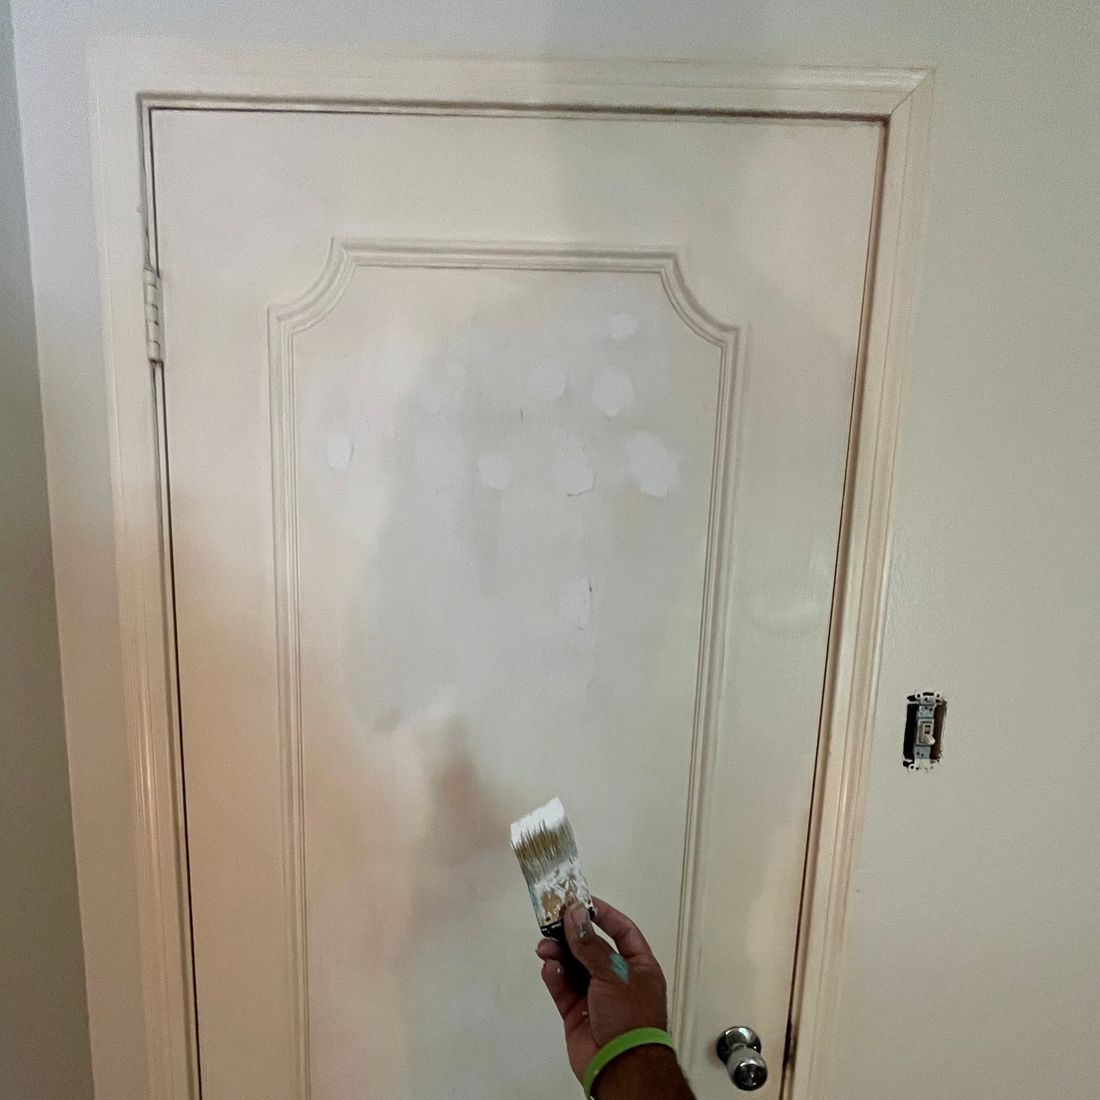
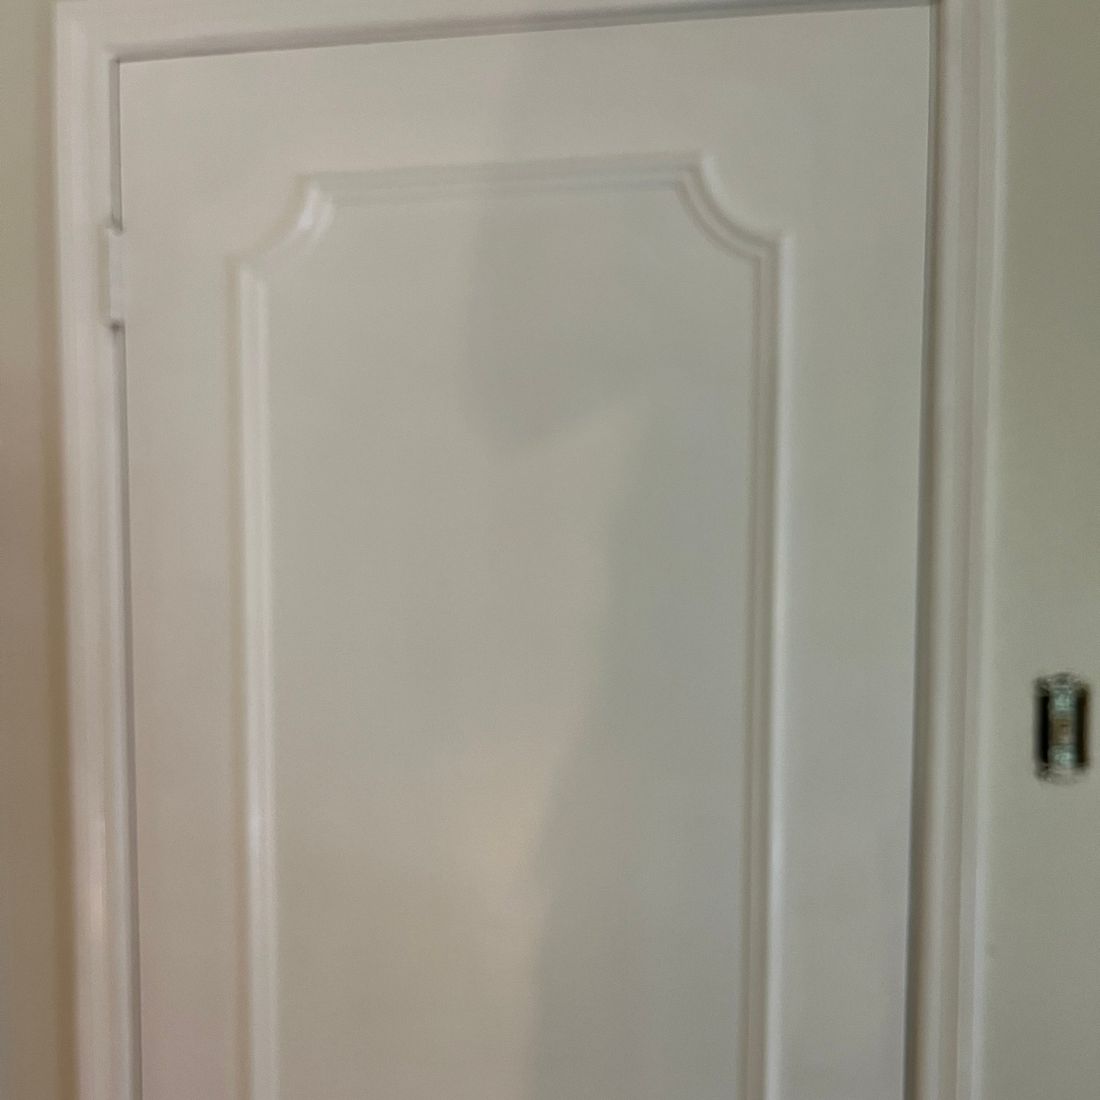
Saving a discontinued door
The problem. An interior door was full of holes, and that style isn't made anymore. A replacement wouldn't match the rest of the house, and replacing every door to match would have cost far more.
How we fixed it. We repaired every hole, sanded the panel flush, and repainted the door so it matches the others again.
Read the full case study
A small job with a big payoff: the homeowners kept their original doors, kept a consistent look throughout the house, and avoided buying a full new set.
 Before
1 / 4
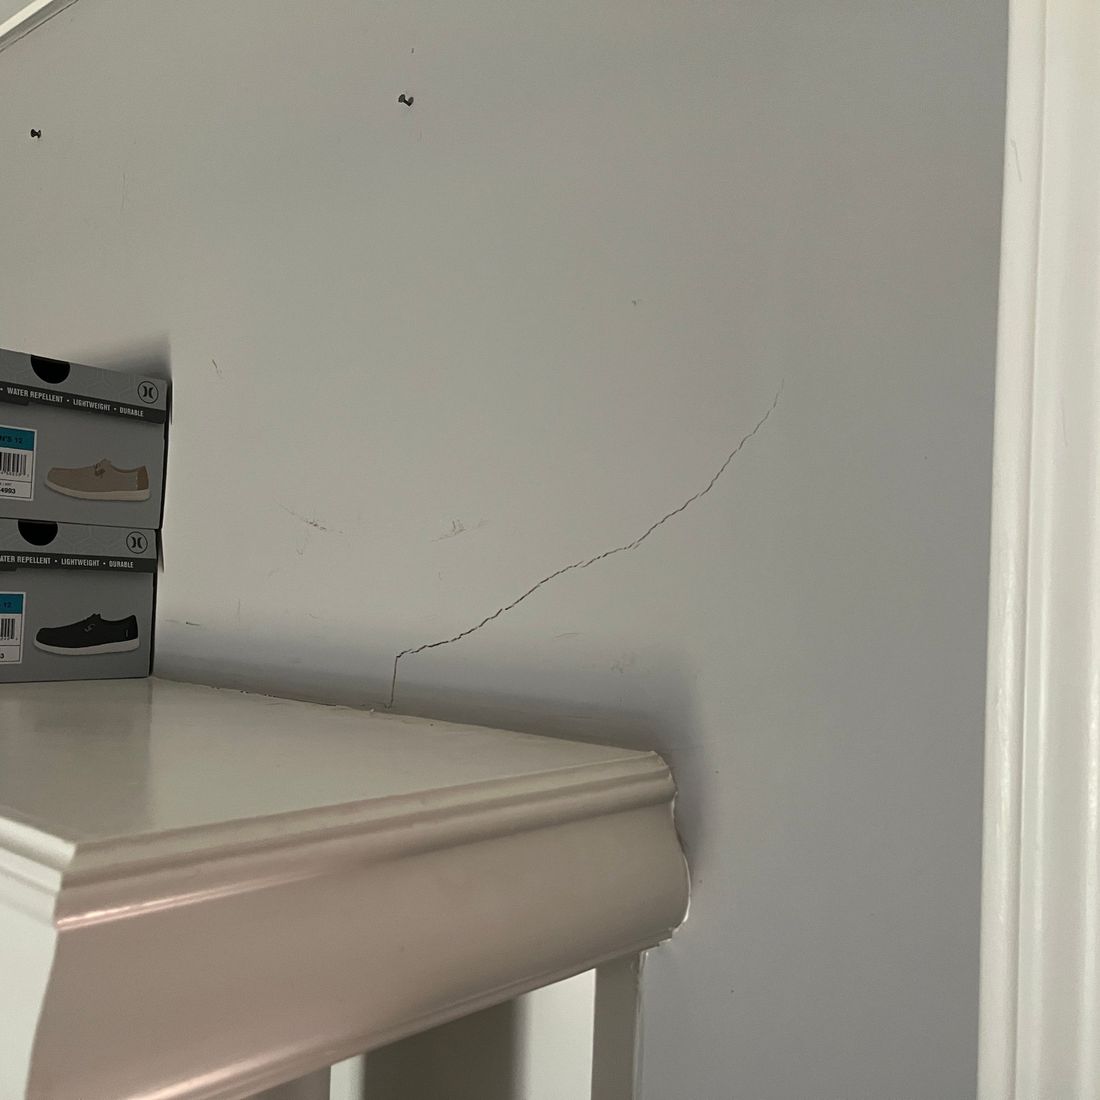
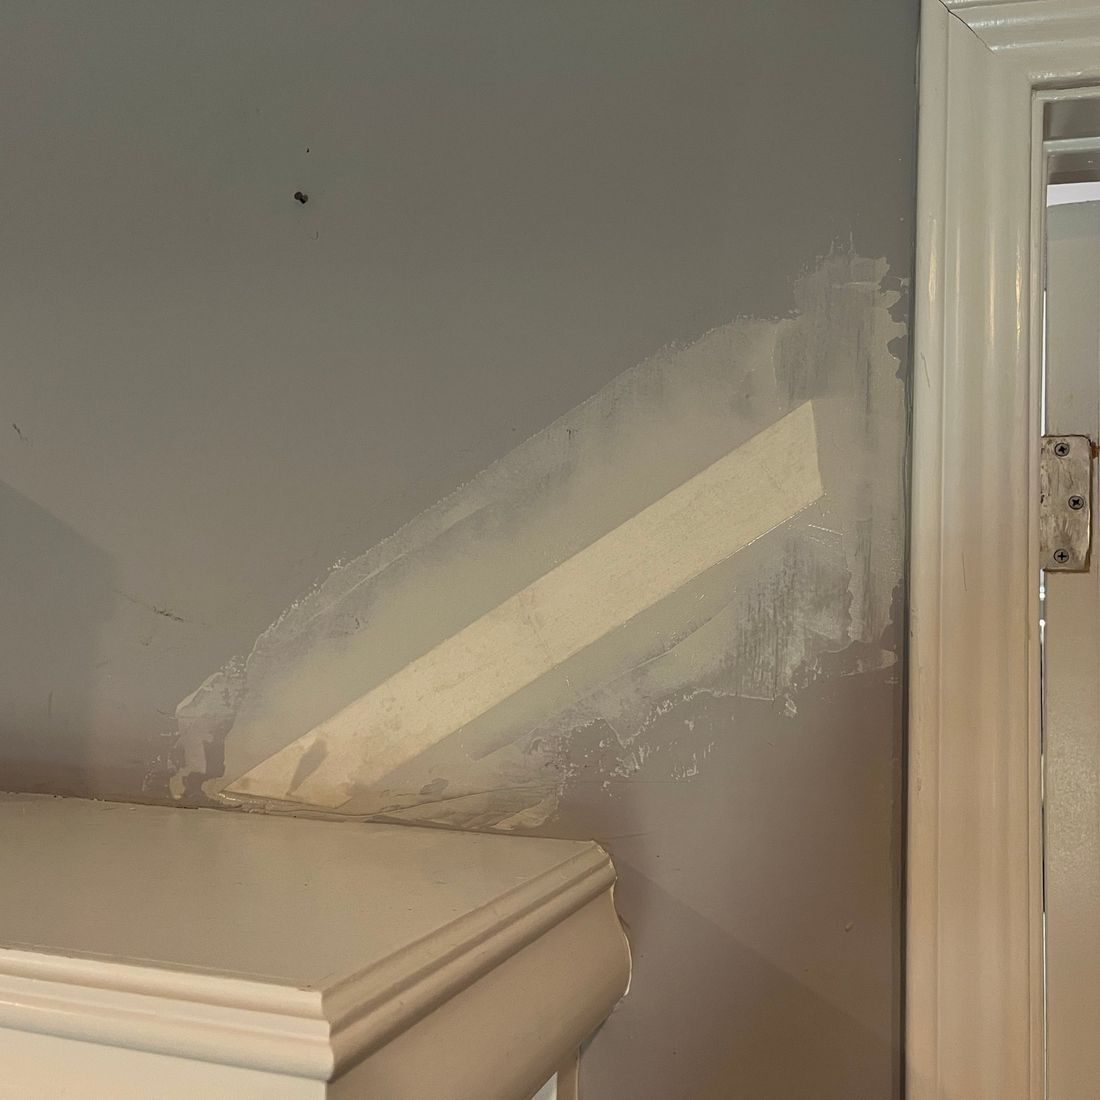
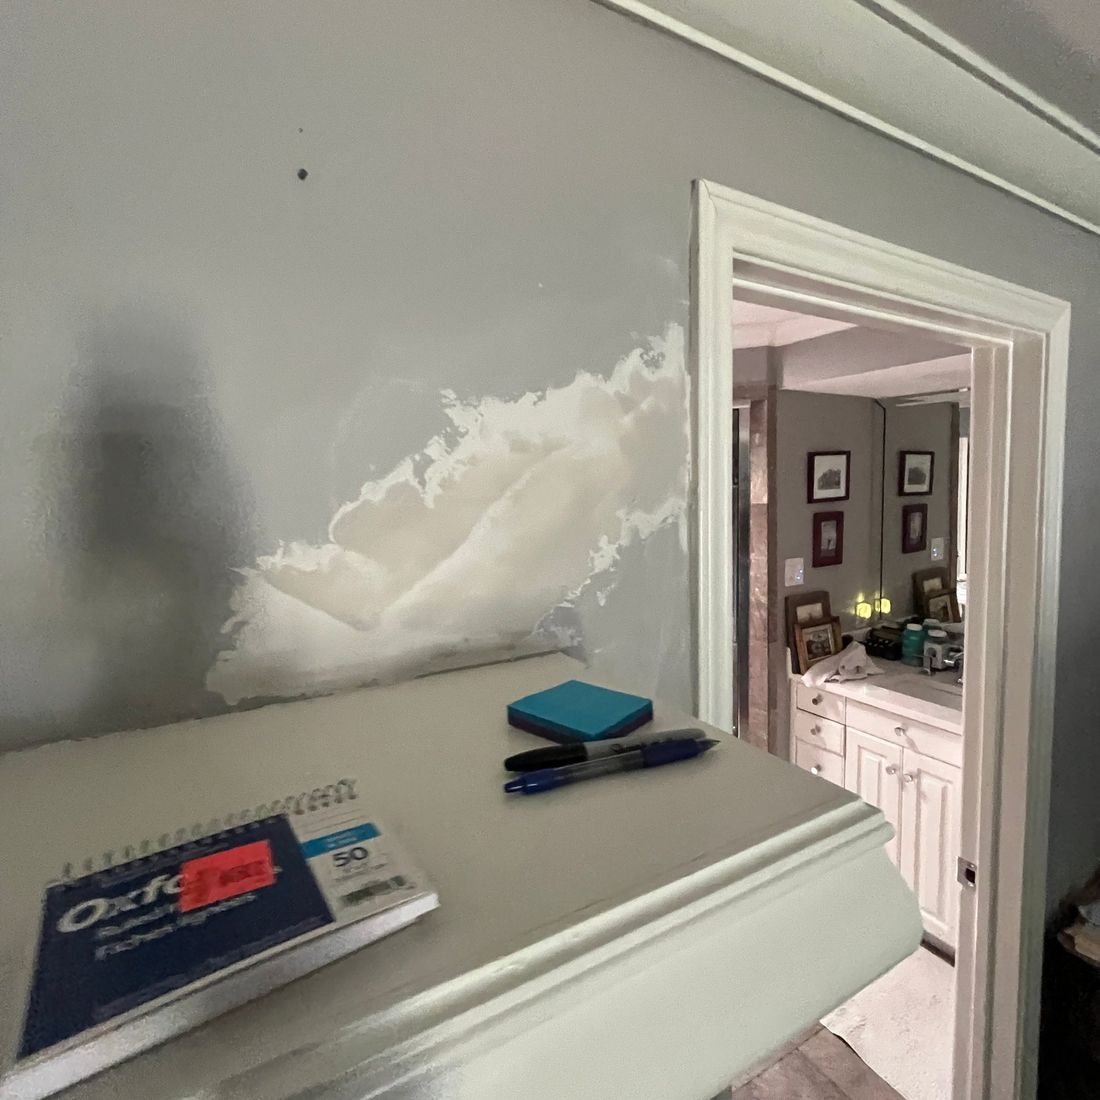
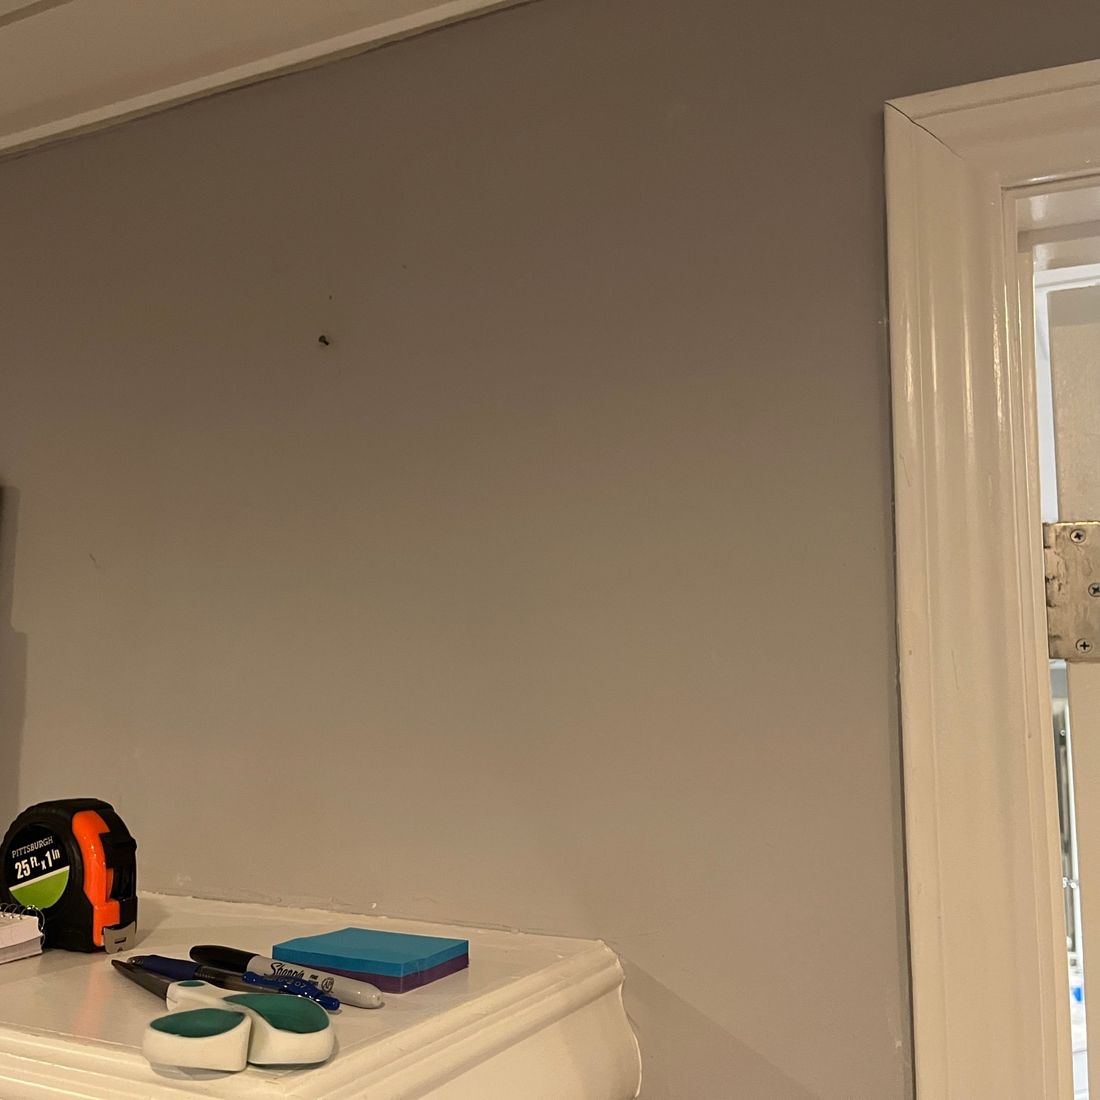
Drywall stress crack
The problem. A stress crack ran up the wall from the corner of a built-in shelf toward the door frame.
How we fixed it. We taped the crack with reinforcing tape, built up and feathered joint compound, sanded it smooth, then primed and repainted so the repair disappears.
Read the full case study
Taping the crack, rather than just filling it, keeps it from telegraphing back through the paint.

A word from the owner
"I started Bridgeman so homeowners in my own neighborhood could get repairs done properly, by someone who answers the phone and stands behind the work."
Victor Bridgeman, owner · Farmers Branch
Where we work
Based in Farmers Branch. We schedule by neighborhood so you get a tighter arrival window.
Farmers Branch · Addison · Carrollton · Preston Hollow · Highland Park · University Park · Bluffview · North Dallas · Prestonwood · Coppell · Las Colinas
Let's take care of your list.
Book online in a minute, or call and talk to Victor directly.